

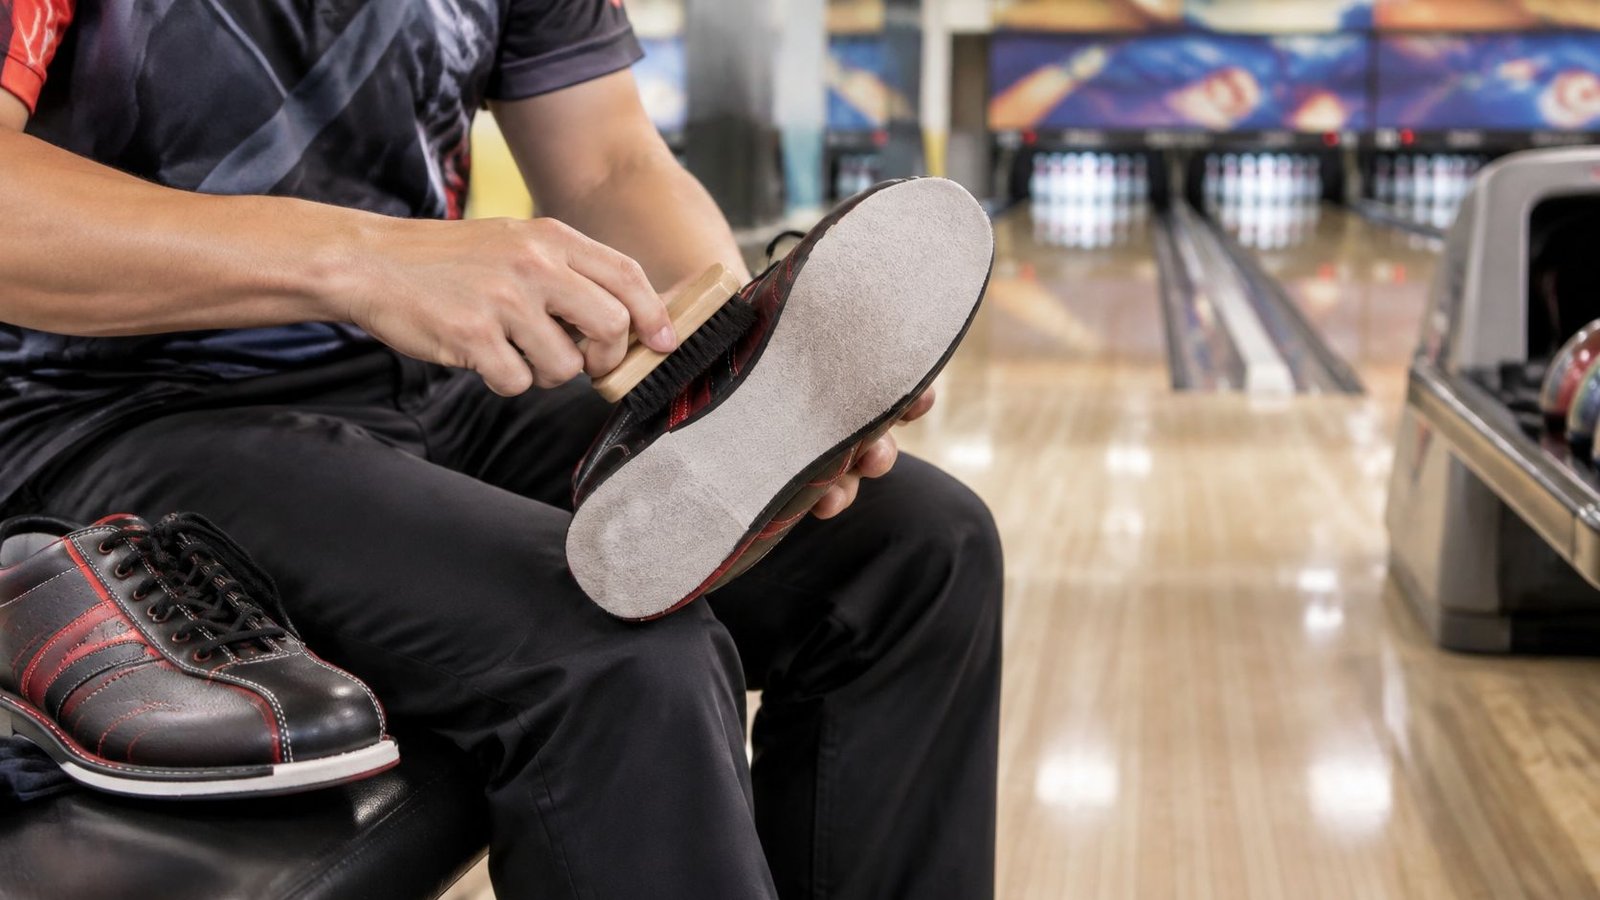
You've got a new pair in the box, league night is a few days away, and the first slide feels nothing like your old shoes. That's normal. A bowling shoe isn't a sneaker you soften up by wearing it harder. One foot is built to glide, the other to brake, and you have to learn how that pair behaves under your approach before you trust it at full speed.
Learning how to break in new bowling shoes is really a staged slide test. Each stage has a pass check, a stop condition, and a decision. Pass, and you move on. Fail, and you fix one thing, then retest. Don't bowl through sticking, heel lift, or pain hoping time will sort it out.
Table of Contents
- Break-In Schedule From First Wear to League Play
- Your First Session and Why Gradual Exposure Matters
- Test Your Slide Over Ten Deliveries
- Fixes for Sticking, Sliding and Heel Problems
- Confirm Your Shoes Are Ready for League Play
Break-In Schedule From First Wear to League Play
Use this schedule this week, starting wherever your shoes are today. The days are typical guidance, not a fixed timetable. A sticky pair may need an extra stationary session, while a pair that fits cleanly and slides predictably can move faster.
| Stage | What you do | Typical time | Pass check |
|---|---|---|---|
| 1. Fit and surface check | Walk indoors in league socks for 10-15 minutes, then bowl one or two games | Day 1 | No heel lift, toe pressure or rubbing |
| 2. Stationary slides | Slide the sliding foot from a standstill, about 10 slides each side | Days 1-2 | Slide stops smoothly without catching |
| 3. Short approaches | Practice one-step and half-length deliveries | Days 2-3 | Slide and stop feel the same on every delivery |
| 4. Practice games | Bowl two to three full practice games at normal speed | Week 1 | Same slide length across games |
| 5. League-length session | Bowl a full league-length session | Weeks 1-2 | Comfort and braking hold through the whole session |
How to Use the Pass Checks
Only one check clears the next stage. If your heel lifts during stage 1, don't advance to stationary slides and hope lacing fixes itself. Sort the fit, walk again, and confirm the heel stays seated. If stage 2 catches, you don't have a timing problem to solve with a faster approach. You have a slide that isn't ready for load yet.
I would treat a failed check as useful information, not lost time. Staying at one-step deliveries for an extra session costs you nothing. Jumping to full approaches with an unpredictable stop can teach you a tentative, off-balance finish that you then have to unlearn.
Practical rule: The schedule ends when the slide is repeatable, not when you've bowled a set number of games.
Your stage depends on how the slide behaves, not on the calendar. A shoe that stops in the same place, with the same balanced finish, delivery after delivery is progressing. A shoe that feels fine for three frames and then grabs isn't, even if you're already on day four. Move forward on evidence from the approach, and you'll know exactly which stage you're in today.
Your First Session and Why Gradual Exposure Matters
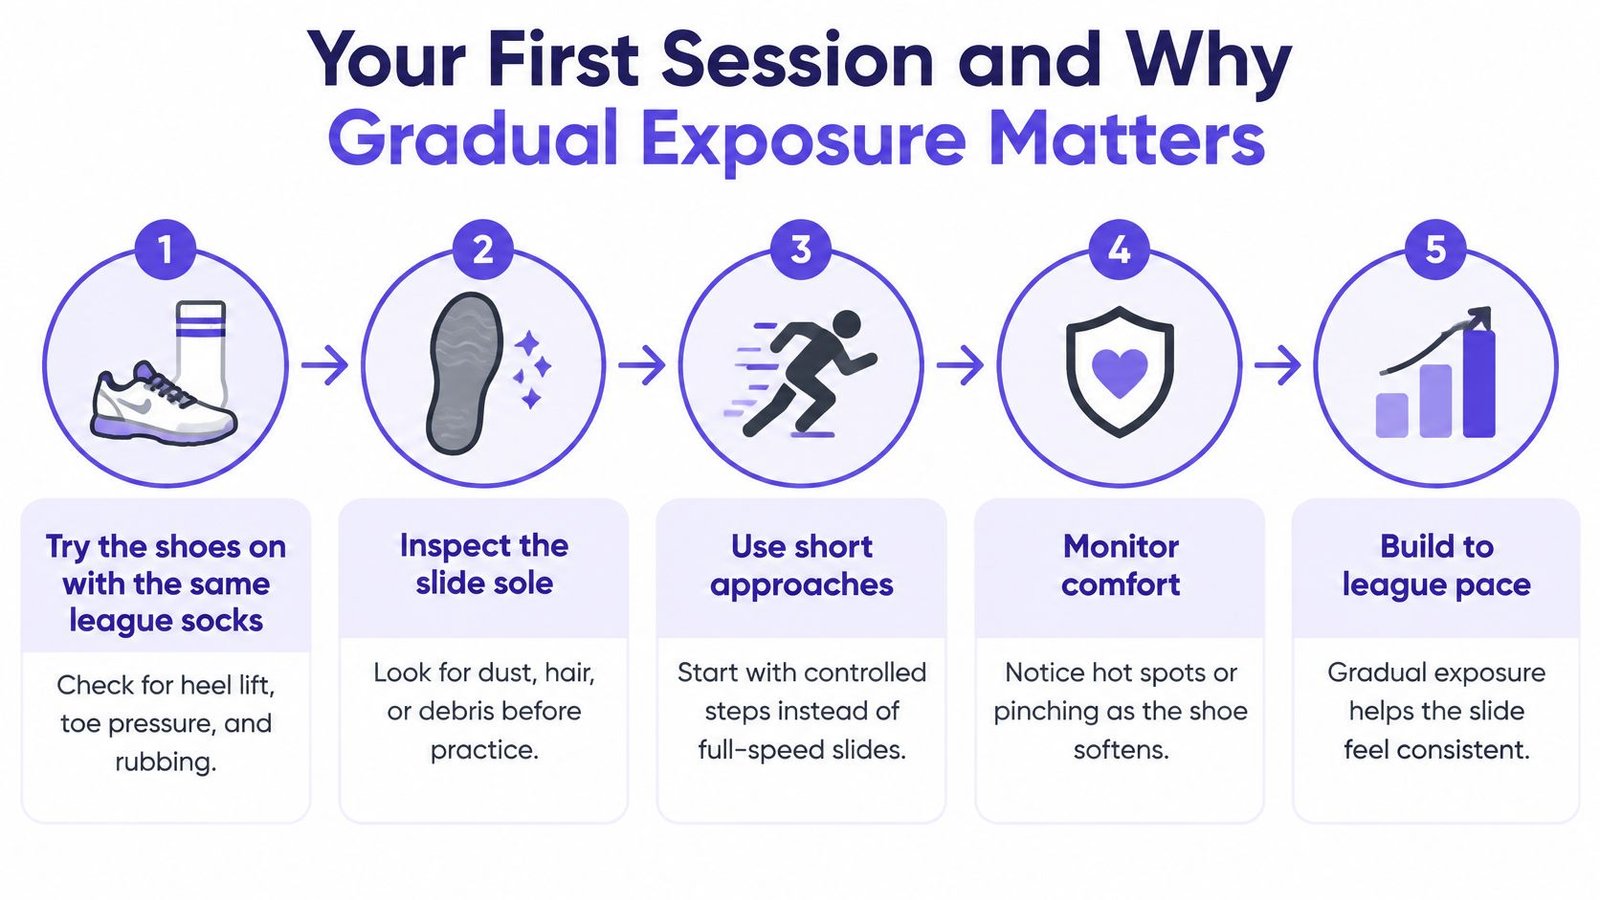
Start with these steps, in this order, before you bowl a full game at pace.
- Try the shoes on in your league socks: Check for heel lift, toe pressure, and rubbing at the seams. A fit problem at this point will look like a slide problem later.
- Inspect the slide sole: Look for dust, hair, or moisture and wipe it clean and dry. Contamination changes friction before you've taken a step.
- Brush only if the sole won't slide: Brush lightly from toe toward heel with a soft wire brush. Don't brush side to side or press hard.
- Walk and slide gently indoors: Spend 10-15 minutes walking and taking a few practice slides to feel the sole before you load it.
- Skip shortcuts: Don't use water, household lubricants, sandpaper, or deliberate scuffing.
- Bowl one or two games: Use your normal approach speed, then stop and inspect your feet for hot spots.
That sequence matches a controlled start of wearing the shoes indoors for 10-15 minutes in league socks, checking fit, then bowling one or two games, as set out in the bowling slide research from AUT, which also notes peak forefoot pressure around 2.4 times body weight during the slide step. That same guidance warns that factory-fresh soles aren't necessarily ready to slide, that side-to-side brushing can roughen or destroy the sole, and that moisture makes friction unpredictable while over-conditioning can create an over-slide.
The visual below lays out that gradual build in five steps.
Why the Order Matters
Your lead foot doesn't finish a delivery the way it finishes a walking step. There's no normal toe-off to unload it. The slide foot glides on a low-friction sole, commonly microfiber, then you brake against a higher-friction surface, so the foot absorbs the stop.
Force-plate figures reported in a bowling-footwear biomechanics thesis put peak vertical ground-reaction forces at approximately 1.8 to 2.8 times body weight during the delivery slide. With that much load arriving on an unfamiliar sole, a sudden catch or an unexpectedly long slide isn't a minor surprise. It's a hard stop or a loss of balance at the foul line.
That's why an abrupt league-length first outing is a poor test. Rubbing, heel instability, and excessive sliding can all show up before you know whether the fit is right. There's no universal break-in duration that fits every bowler and every sole, so judge progress by what repeats.
A good slide decelerates progressively. It doesn't grab, and it doesn't keep travelling after you expect it to stop.
Watch the short demonstration below, then copy the controlled speed rather than the finished result on your first attempts.
Don't force a sticky shoe to prove a point. Forcing the slide can train you to muscle the finish or shorten your last step, and then you're adapting your approach to a problem in the footwear. More use isn't automatically better.
A good first session ends with no hot spots, no blistering, and a slide that stops progressively. By the second game, you should be thinking about your target, not your feet. If you're still bracing for the stop on every delivery, end the session and retest the earlier stage next time.
Test Your Slide Over Ten Deliveries
Once short approaches feel consistent, run a simple benchmark. Bowl 10 normal deliveries and record one thing for each one, where the slide stops relative to the foul line. Note whether it stops short, reaches the line with balance, or travels past it. Don't score-chase during the test, and don't change your target or speed to rescue a bad slide.
Keep the Test Honest
Standardize the conditions that most often mislead bowlers.
- Same approach and lane area: Changing lanes mid-test changes the surface you're measuring.
- Shoe cover off the approach: Use a cover whenever you leave the bowling area. Carpet, concrete, and tile pick up moisture and debris quickly.
- Sole check before every game: Look for hair, dust, moisture, or compressed fibers and clean the sole before you judge it.
If your pair uses interchangeable parts, start with the sole the manufacturer supplied. Make one-step adjustments to the bowling shoe sole setup rather than swapping several pads at once. Change one variable, bowl another ten, and compare results under the same conditions.
| Result over 10 deliveries | What it usually means | Next move |
|---|---|---|
| Stops short of the foul line on most deliveries | Slide sole is sticking or too slow | Clean and dry the sole, then move to a smoother slide sole if the system allows |
| Travels past the line on most deliveries | Slide is too long or the sole too slick | Add traction or choose a lower-rated option on the system's scale |
| Reaches the line with balance on 8 or more of 10 | Break-in is on track | Repeat the test in another session before advancing |
| Length varies with no pattern | Surface or moisture is changing the slide | Check the sole and lane surface, then re-test under the same conditions |
Check your league and competition rules before using any powder. Rules prohibit foreign substances such as powder, resin, pumice, and slide products on shoes and approaches, so a clean, dry sole is the legal way to keep the slide predictable. Don't dust the approach to fix a shoe problem, since that creates a hazard for everyone else.
Success here isn't a higher score. It's repeatable balance and stopping distance across ten ordinary deliveries.
Fixes for Sticking, Sliding and Heel Problems
The most common complaint with a new pair is a slide that catches. Before you change hardware, slow your approach down and make sure the sole is clean and completely dry. A rushed last step on a dirty sole will grab even when the shoe itself is fine. Retest with a few stationary slides first. If the catch is gone, rebuild speed gradually instead of jumping straight back to full approaches.
| Symptom | Likely cause | Fix |
|---|---|---|
| Slide sticks or catches on the approach | Dry, dirty or too-grippy sole, or a rushed approach | Clean and dry the sole, slow the approach, re-test |
| Heel lifts on delivery | Loose fit or thin socks | Adjust lacing, wear league socks, check heel fit |
| Hot spots on toes or forefoot | Pressure from a new shoe | Stop the session, rest, recheck the fit |
| Over-slide past the foul line | Slick sole or oily surface | Dry the sole and move to a higher-traction option |
Use this table for heel, toe, and fit symptoms. For a slide that is consistently too short or too long, let your ten-delivery record drive the sole decision. Mixing both changes at once, new lacing plus a new slide sole plus a different sock, tells you nothing about which one worked.
If heel lift persists after relacing in your league socks, check whether the size itself is wrong against bowling shoe sizing guidance before you add thick socks to fill space. Padding a loose heel often creates toe pressure, so you've traded one fit problem for another.
Hard Stop Conditions
Stop the session if any of these show up.
- Abrupt catching: The slide grabs instead of decelerating.
- Heel lift or toe gripping: Your foot is working to stay in the shoe.
- Pain: Discomfort under the metatarsals, in the arch, knee, or ankle ends the test.
Those aren't break-in milestones. A foot-health source on bowling foot health and ankle risks warns that catching on the approach can force the ankle into inversion. Bowling through a catch risks exactly that kind of twist, and it can also train a compensating movement that lingers after the shoe is fixed.
Stiff is workable. Painful or repeatedly catching is not, and more sessions won't convert one into the other.
Some fixes are same-day. Cleaning the sole, drying it, relacing, changing socks, and slowing the approach can all be retested in minutes. A slide sole or heel swap on a replaceable system takes longer, because you need several sessions to confirm the new combination repeats under normal league pace. Don't declare a swap successful after two good deliveries.
A shoe that's merely stiff can be adapted to through the staged process. A shoe that causes pain, numbness, persistent toe pressure, or repeated catching after the basic fixes needs fitting help or a podiatrist, not another week of forcing it. I would stop adding sessions at that point and get the fit assessed with the shoes on your feet.
Confirm Your Shoes Are Ready for League Play
Run this five-point check before league night, using the shoes exactly as you'll bowl in them.
- Repeatable early stages: Stationary and short approaches stop the same way every time.
- Ten-delivery result: You reach the line with balance on most deliveries.
- League length: Comfort and braking hold through a full session.
- Clean fit record: No hot spots and no heel lift.
- Clean, dry sole: You've checked it before every game.
Lacing up for that final check is the moment to confirm the heel is seated and the toes sit flat.
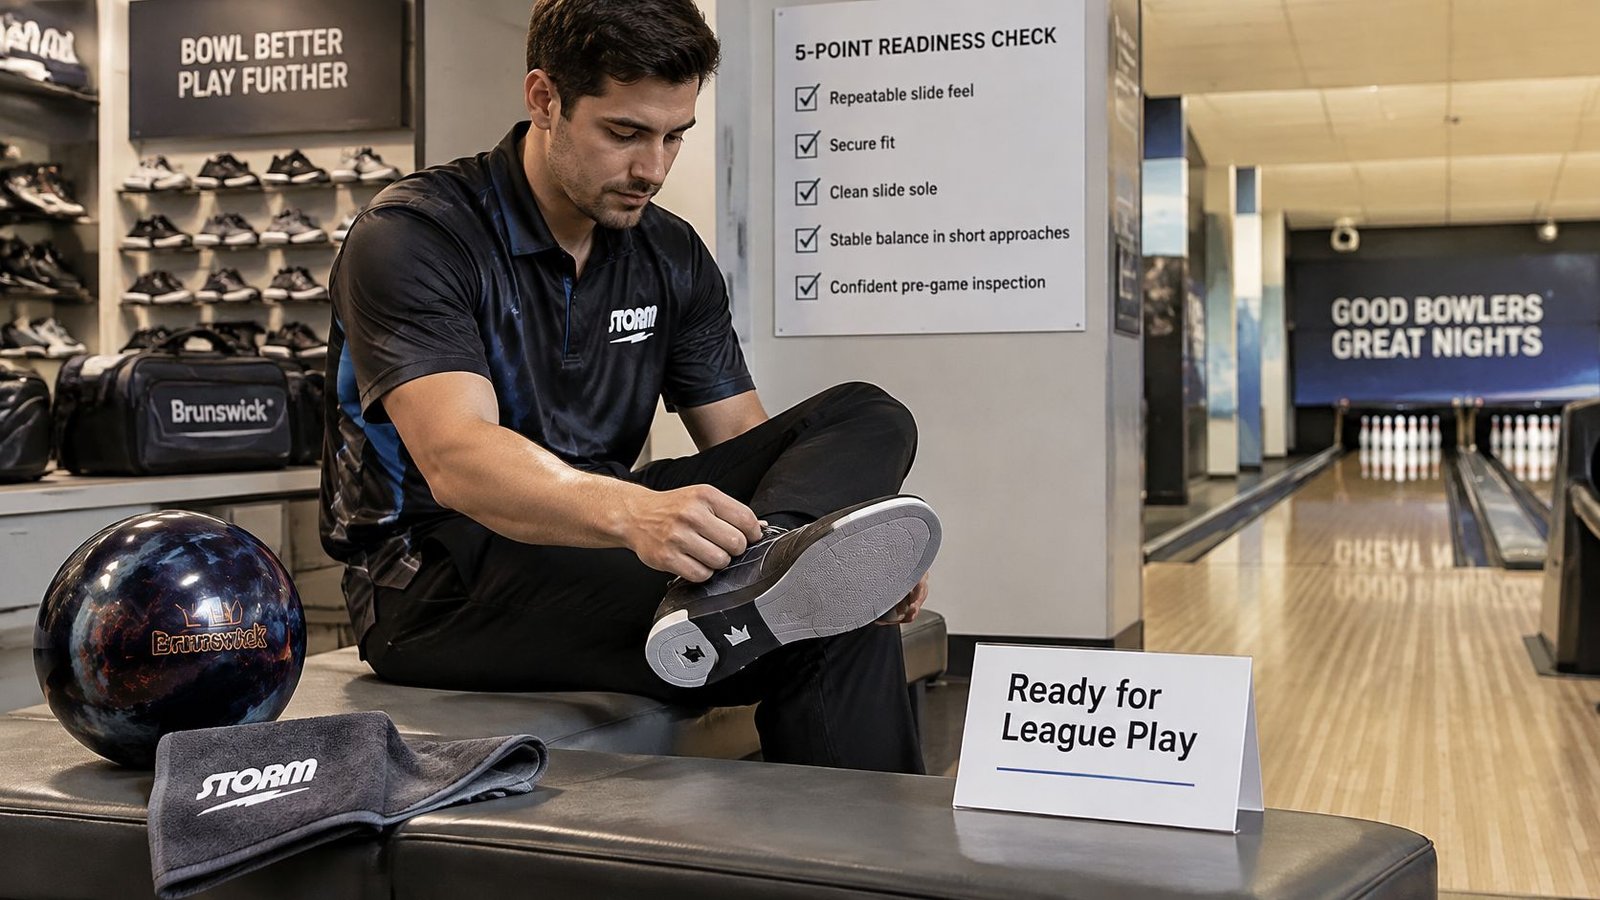
If all five are true, the shoes are ready. If one fails, go back to the matching stage and apply the matching fix, then retest. Keep the maintenance habit going with a routine for cleaning your bowling shoes so the sole you tested is the sole you bring to league. If pain or repeated catching persists after those fixes, stop adding sessions and see a podiatrist or fitting specialist. Bowling gear is tested in real bowling conditions for a reason, and a pair that only behaves for a few frames hasn't passed yet.
If you're comparing a replacement pair, visit Bowling Gear Reviews for independent shoe reviews, fit notes, and slide system comparisons tested in real bowling conditions. Use those findings to shortlist a pair that suits your foot shape and approach, then run the same staged test before league night.
