

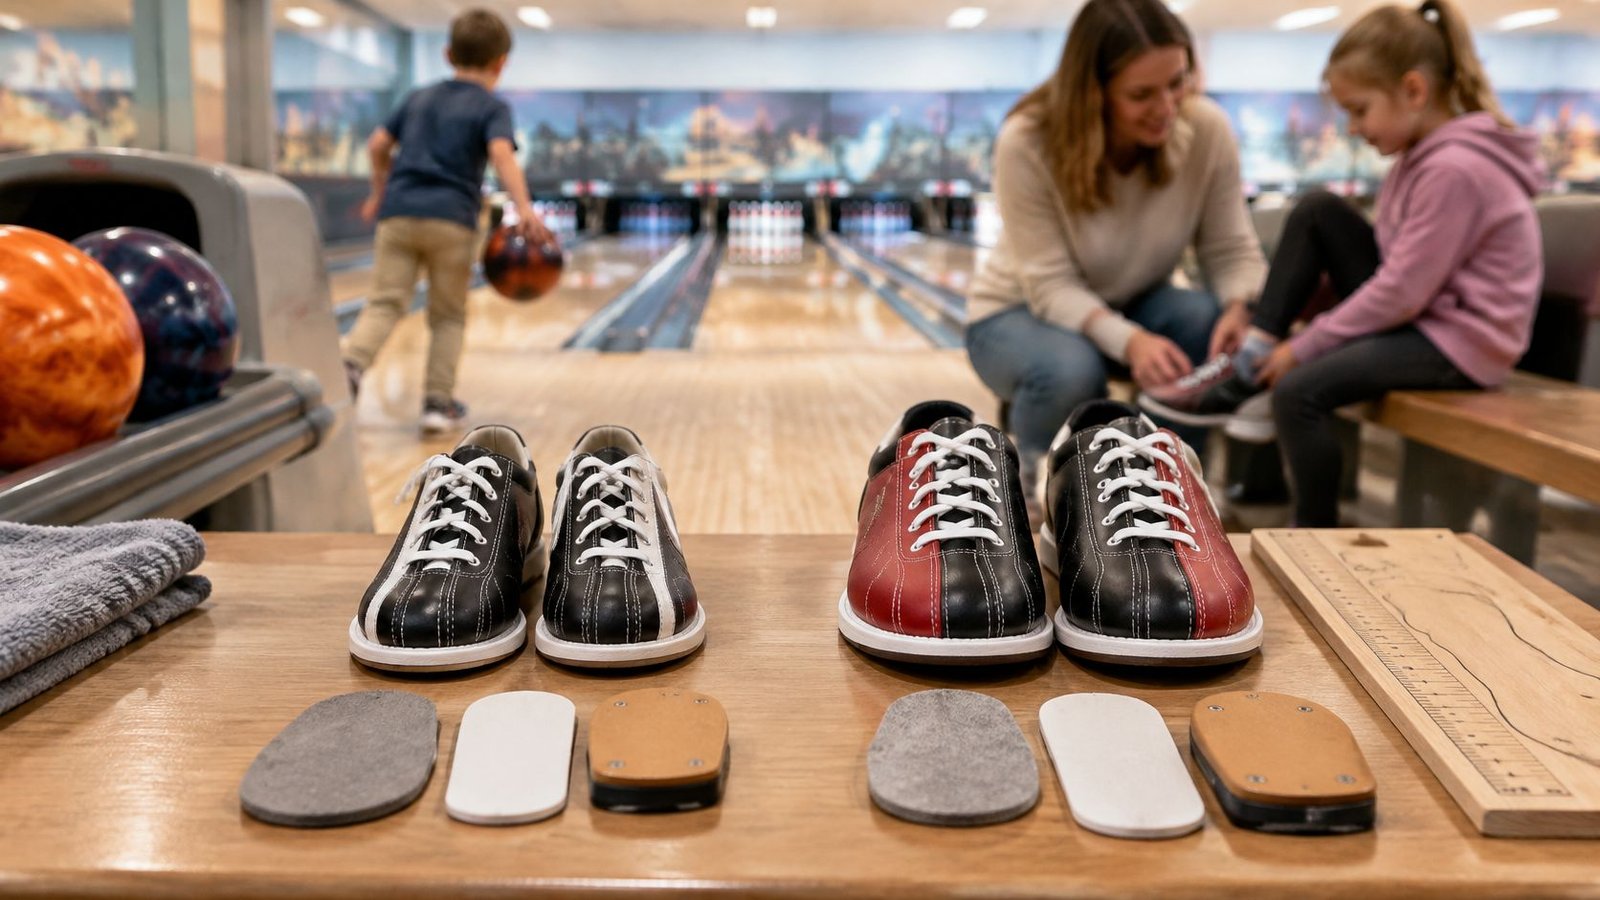
Youth bowling draws large, organized fields through events like the USBC Junior Gold Championships and USA Bowling programs. Age divisions, long seasons, and practiced footwork turn those events into real competition, far past a one-afternoon birthday party.
That scale changes how you should think about bowling shoes youth bowlers wear. The shoe is the only part of the approach your child cannot adjust once the slide has started. It works like a tire on a wet road: if the contact is wrong, the rest of the motion has nothing stable to push against. A heel that lifts, a toe that jams, or a slide foot that grabs throws balance off first. Confidence usually follows it out the door.
Parents often reach for two shortcuts. They copy the size printed inside yesterday's sneakers, or they buy a roomy pair so a growing foot has space to fill later. Both choices feel practical. A foot that is still changing makes them unreliable. Sneaker length says nothing about bowling-shoe width, and spare room lets the heel rise during the slide. That is a safety problem, not a sizing convenience.
Use the same order every time you shop. Measure the foot, check the width, confirm toe room, then choose the sole for how often your child bowls. Looks come last. Kids care about color, and that is fine, but color does not keep the foot planted through the approach.
Table of Contents
- Youth Bowling Shoe Types Compared
- Matching Youth Shoes to Beginner, League and Tournament Play
- Slide Soles, Traction and Replaceable Parts Compared
- How to Measure Your Child's Feet for Bowling Shoes
- Fit Benchmarks by Age for Heel and Toe Room
- Safety Checks and When to Replace Youth Shoes
- Confirm the Fit and Pick Your Pair
Youth Bowling Shoe Types Compared
Start with the four options you'll meet in shops and online. We test bowling gear in real bowling conditions, so the distinctions below reflect how shoes behave on an approach, not just how they're described on a box.
| Option | Width | Sole and slide system | Durability | Best for |
|---|---|---|---|---|
| Universal rental-style shoe | Standard only | Fixed sole, one slide surface | Built for repeated short sessions, sole can't be renewed | Occasional family bowlers |
| Junior performance shoe, narrow fit | Narrow | Dedicated slide sole | One full season for weekly use, sole can't be renewed | Narrow-footed kids bowling weekly |
| Junior performance shoe, wide fit | Wide | Dedicated slide sole | One full season for weekly use, sole can't be renewed | Wide-footed kids who need toe room |
| Youth shoe with replaceable soles | Standard or wide | Swappable slide and heel pads | Longer, sole can be renewed | League youth who bowl through a full season |
Universal Rental-Style Shoes
These are the familiar one-shape shoes made to work for either foot and either hand. The slide surface is the same on both feet, which forgives messy beginner footwork and keeps things simple. Choose this row if your child bowls a few times a year and you mainly want clean, properly sized shoes of your own.
Junior Performance Shoes in Narrow Fit
A narrow junior model gives one foot a dedicated slide sole and the other foot more braking grip. That split matters once a child repeats the same approach every week and starts noticing small sticks or drifts. Choose this row if your child's foot is narrow and standard shoes feel loose around the midfoot even when the length is right.
Junior Performance Shoes in Wide Fit
The sole system matches the narrow version. The upper and toe box give the forefoot room to spread instead of squeezing it into shape. Choose this row if your child's toes press the sides, socks leave deep marks, or the ball of the foot fills a standard shoe edge to edge.
Youth Shoes With Replaceable Soles
These let you swap a worn slide pad or heel pad instead of replacing the whole shoe. That keeps the release feeling consistent as the surface wears through league and tournament play. Choose this row if your child bowls through a full season and you'd rather renew the part that touches the approach than buy a new pair mid-year.
Pick by foot shape first and bowling frequency second. A wide foot in a narrow performance shoe won't gain control, it'll gain pressure.
The fixed versus replaceable choice is mostly about wear. A fixed sole is fine until its slide surface changes. A replaceable sole costs more effort to maintain, but you can restore the part that determines how the foot releases.
Matching Youth Shoes to Beginner, League and Tournament Play
Level of play tells you how much consistency the shoe needs to deliver. A child who bowls twice a year needs comfort and safe footing. A child who bowls every Saturday needs the same slide every Saturday.
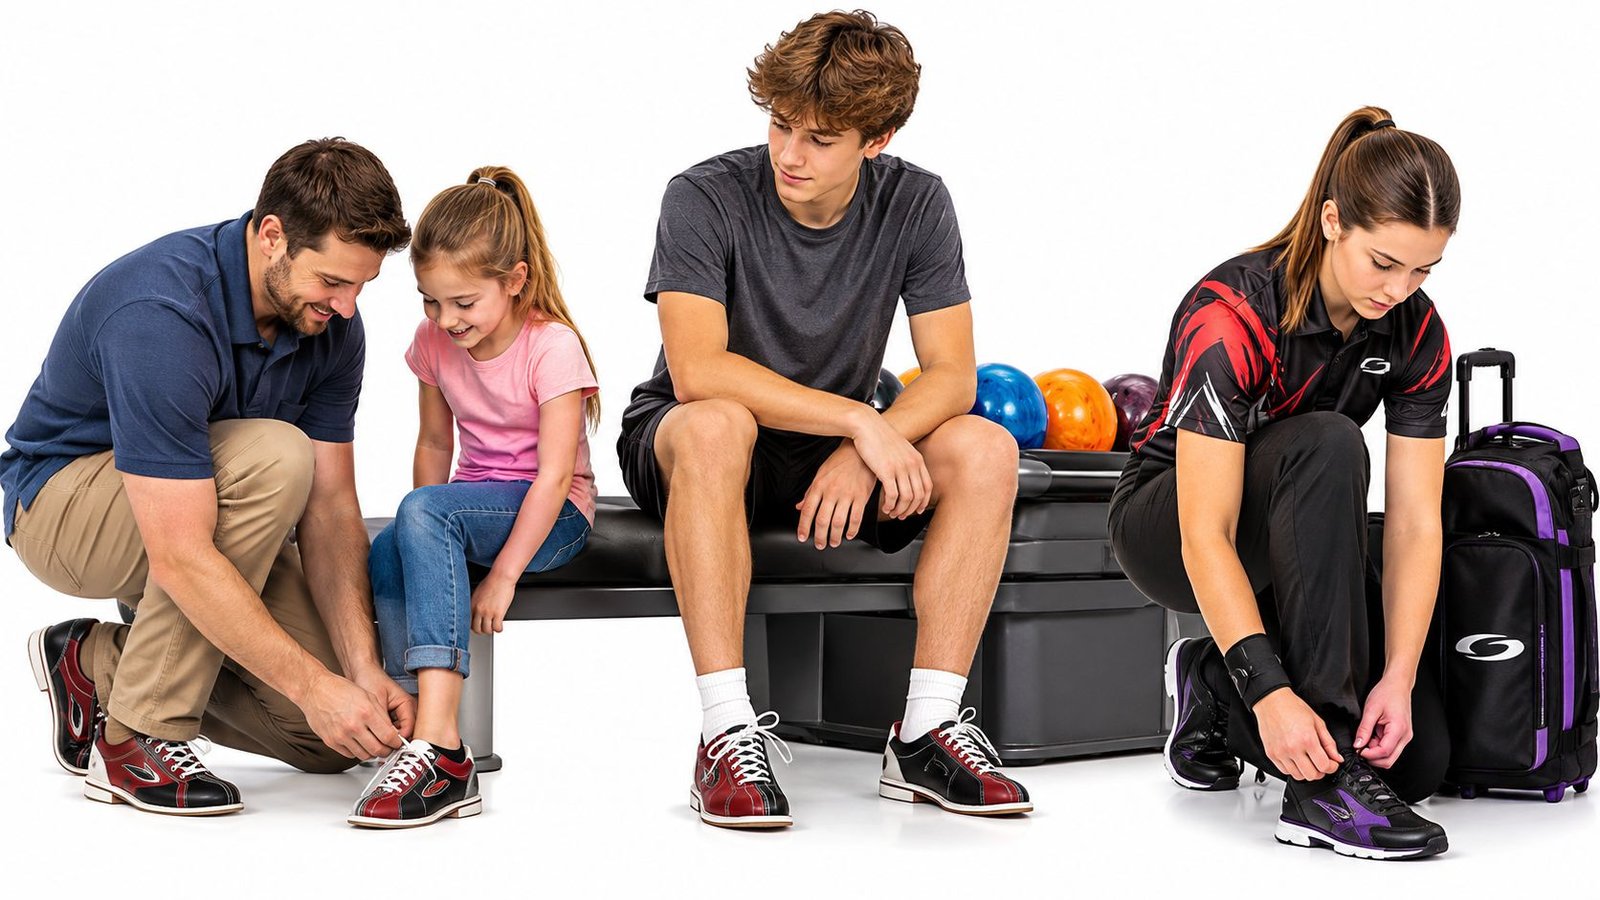
Getting fitted together is often where a parent first sees whether a heel stays put during a walk test.
The Occasional Family Bowler
Say your family bowls during school breaks, and your child walks to the foul line, pushes the ball with two hands, and cares more about bumpers than footwork. The universal rental-style shoe fits this situation. Your single most important check is fit on the day. The heel shouldn't lift, the toes shouldn't curl, and the soles should be clean and dry before the first frame.
Don't overbuy here. Replaceable pads won't help a child who isn't really sliding yet, and a performance fit won't fix an approach that's still mostly a walk.
The Weekly Youth League Bowler
Say your child joins a Saturday league, keeps score, and starts repeating a four-step approach. Now a junior performance shoe, narrow or wide based on the foot, makes sense. The dedicated slide sole gives a more predictable release, which helps your child learn timing instead of guessing what the shoe will do.
Your key check is seasonal. Recheck heel security and toe clearance before the league starts, because a shoe that fit at sign-up may not fit by the final weeks.
The Tournament Junior
Say your child practices between league sessions and enters youth tournaments at different centers. Approaches vary, sessions run long, and a worn slide surface shows up quickly. A youth shoe with replaceable soles fits this level because you can renew the slide or heel before wear changes the release point.
Your key check is the surface itself. Inspect pads before competition days, not after a slip or stick costs a game.
The short video below is useful background for how approach and release connect as young bowlers progress.
When a child moves up a level, move up the table too. Keeping a rental-style shoe through serious league play asks a basic sole to do a job it wasn't built for.
Slide Soles, Traction and Replaceable Parts Compared
Two feet do two different jobs at the foul line. Confusing those jobs is where many buying mistakes start.
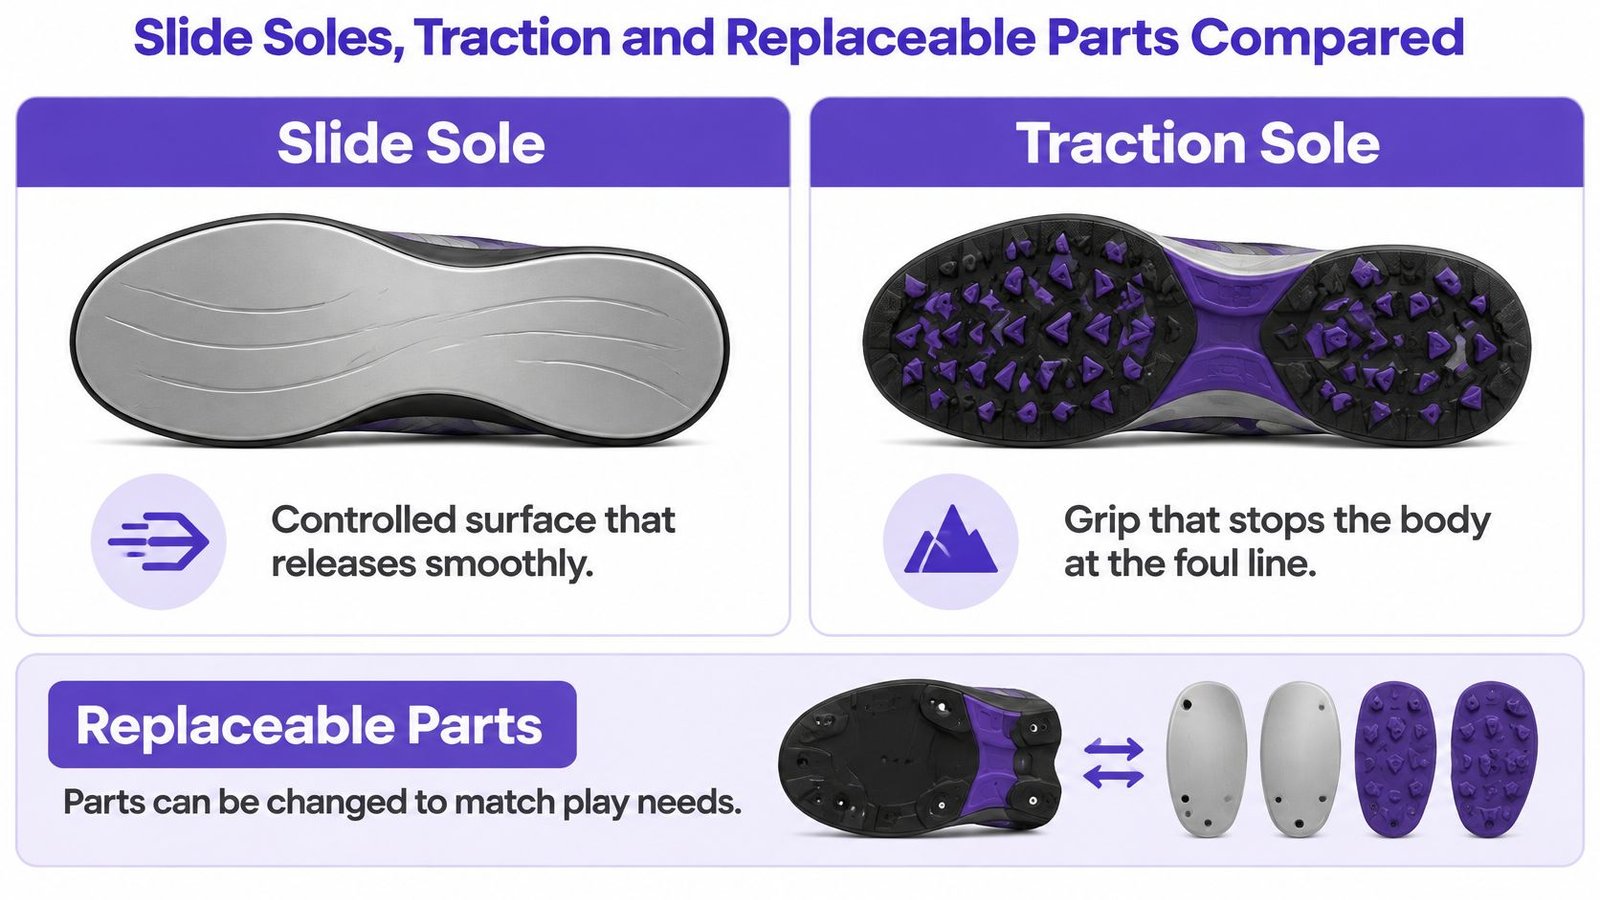
The comparison below separates the smooth slide surface from the gripping braking surface, with replaceable parts shown as a third element.
The Slide Foot
The slide foot is the foot opposite the throwing hand for most bowlers. It lands last, glides forward, and lets the body finish balanced while the ball releases. A dedicated slide sole is smooth and consistent across its surface, so the foot travels instead of grabbing in patches.
A fixed universal sole also slides, but it's a compromise. Both feet share a similar surface, and that surface picks up wear, dust, and moisture without any way to refresh it. For a beginner, that compromise is reasonable. For a weekly bowler building repeatable timing, small changes in friction feel big.
Street shoes make the problem worse because rubber meant for sidewalks grabs unpredictably on a bowling approach. A foot that should glide can stop short, and the child's upper body keeps moving. That's how a normal step turns into a lurch.
The Braking Foot
The braking foot needs traction. It pushes off during the approach and helps stop the body in a stable finish position. Too little grip and the child feels unsteady driving into the slide. Too much grip, especially from a dirty or damaged sole, and the stop becomes abrupt and uneven.
Good traction isn't maximum traction. It's predictable traction your child can trust the same way on frame one and frame ten. If you want the fuller breakdown of sole materials and heel types, our guide to how bowling shoe soles and heels work covers the options in more detail.
Replaceable Parts and Wear
Wear usually shows up as a glossy patch, an uneven edge, or a slide surface that feels slick in one spot and grabby in another. Those changes move the release point because the foot stops earlier or travels farther than your child expects. With swappable pads, you replace the worn piece and restore the feel. With a fixed sole, you live with the change or replace the shoe.
Practical rule: If your child notices the slide changing from week to week, inspect the sole before you correct the footwork. Equipment drift often looks like a technique problem.
The trade-off is straightforward. Replaceable parts cost more upfront and need occasional attention, but they extend the useful life of the pair. Fixed soles suit occasional bowlers who won't wear a slide surface down before the foot outgrows the shoe anyway.
How to Measure Your Child's Feet for Bowling Shoes
You don't need shop equipment to get a useful measurement. You need paper, a pencil, a ruler, and the same routine every time. In a study of 698 schoolchildren, 59% wore shoes with incorrect length and 98% wore shoes that were too narrow under the study's fit criteria. A single size number clearly misses a lot.
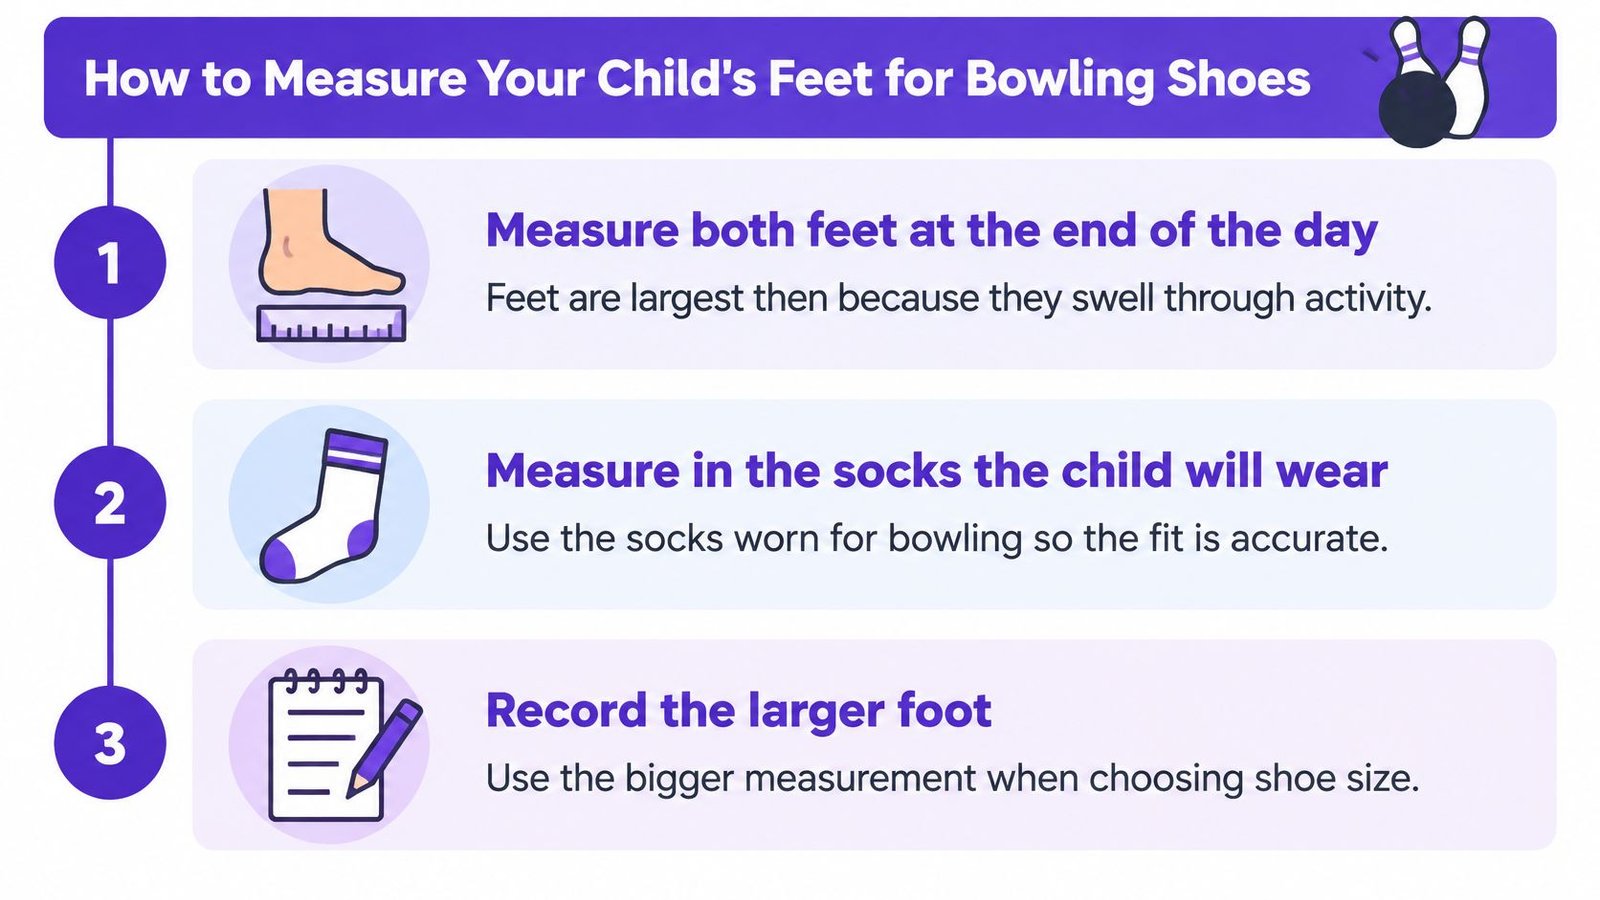
The visual below sums up the first habits to build before you start marking paper.
The Six-Step Home Routine
- Measure in the evening. Feet swell through activity, so an evening measurement reflects the largest size you'll need to fit. Measuring first thing in the morning is the most common reason a shoe feels tighter at the center than it did at home.
- Use bowling socks. Measure in the socks your child will bowl in, because sock thickness changes both length feel and heel hold. Don't measure barefoot and then add a cushioned athletic sock later.
- Mark length and width standing up. Have your child stand with full weight on a sheet of paper against a wall. Mark the back of the heel and the tip of the longest toe, which isn't always the big toe. Then mark the widest points on both sides of the forefoot and measure across.
- Measure both feet and use the larger one. One foot is often longer or wider than the other, and the shoe has to fit that foot. Averaging the two measurements guarantees one foot gets squeezed.
- Check toe clearance and heel hold together. In the shoe, you're looking for about 10 to 15 mm beyond the longest toe while the heel stays in place during a walk. Toe room with a lifting heel isn't growing room, it's internal movement that reduces control.
- Test a slow slide step. On a hard floor, have your child walk, then take a gentle sliding step and finish balanced. The toes shouldn't jam the front at the end of the slide, and the foot shouldn't swim forward inside the shoe.
Turning Measurements Into a Choice
Length points you to a size range. Width points you to a row in the comparison table. A foot that fills or overflows the width marks points to a wide-fit junior model. A foot with clear space at the sides in a standard shoe, plus heel slip you can't lace away, points to a narrow fit.
For matching those measurements against size charts, our reference on bowling shoe sizes and conversions helps you translate numbers between brands. Treat any chart as a starting point, though. Your child's walk and slide test outrank the printed size.
Growing room lives in front of the toes. It should never live around the heel.
Repeat the routine before each season, and sooner if you notice toe marks pressed into the insole, complaints about side pressure, or a sudden growth spurt in everyday shoes. Don't assume a pair stays suitable just because the season isn't over.
Fit Benchmarks by Age for Heel and Toe Room
Benchmarks give you numbers to screen against when size labels disagree between brands. The pediatric footwear review in PMC recommends approximately 10 to 15 mm of space beyond the longest toe, adequate width, a rounded toe box, a flexible sole, and a maximum heel elevation of 10 mm. That heel ceiling applies across the age groups below.
| Age group | Maximum heel elevation | Toe allowance | Sole |
|---|---|---|---|
| Ages 7-10 | 10 mm | 10-15 mm | Flexible sole |
| Ages 10-14 | 10 mm | 10-15 mm | Flexible sole |
How to Read the Two Numbers
Toe allowance screens for length. Heel elevation screens for how much the heel sits above the forefoot. A shoe has to pass both at once. A pair with perfect toe room but a tall, stiff heel can still push a young bowler's weight forward and make the finish position harder to hold. The heel check matters because a raised heel changes posture before the slide even starts.
For a child below the first age row, there is no separate number to chase in the table. Treat 10 mm as the heel ceiling and let the toe allowance do the screening. Keep the sole flexible enough that the foot can bend at the ball, which is where a young bowler needs feedback from the floor.
You can check heel elevation roughly by comparing sole thickness under the heel against thickness under the ball of the foot. You don't need laboratory precision. You're screening out shoes that are clearly built up at the back for a small child.
The Two Ways Fit Goes Wrong
- Too much length: The foot slides inside the shoe, balance drops, and the toe of the shoe can catch during the approach. Parents often choose this error on purpose, hoping the shoe lasts longer.
- Too little length or width: Toe motion gets restricted and pressure builds across the forefoot. Your child may not complain clearly, but you'll see redness, curled toes, or a reluctance to finish the approach at full speed.
A benchmark doesn't replace a fitting. It tells you which shoes deserve a fitting and which ones to put back.
Commercial sizing is inconsistent, so a size from one brand can measure differently in another. That's why the benchmark matters more than the number on the tongue. Recheck periodically, because children's foot dimensions change while the shoe stays exactly the same.
Safety Checks and When to Replace Youth Shoes
Footwear safety in bowling isn't theoretical. The AthleteRx bowling injury summary citing U.S. emergency-room data reports that fingers accounted for 19% of injuries, the trunk for 15.8%, and the ankle, foot, and toe for 14.9%, while falls were the leading injury mechanism at 27.5% in a 2014 to 2023 update. In a 2011 study, children younger than seven had finger injuries in 49.2% of reported cases and injuries caused by dropping the ball in 42.8%.
Children are still developing balance, ball-control strength, and consistent approach timing. Predictable footwear removes one variable they shouldn't have to manage.
Before Each Session
- Check the size still fits: Confirm the heel holds and the toes have clearance, especially after any growth in school shoes.
- Keep soles dry and clean: Brush off dust and keep slide soles away from spilled drinks, since moisture changes friction fast.
- Carry the ball with both hands: Teach a two-handed carry from the rack, every time, even for light house balls.
- Never walk outdoors in bowling shoes: Pavement grit and wet ground contaminate the sole and make the next slide unpredictable.
If soles do get dirty, our guide on how to clean bowling shoes safely walks through restoring them without ruining the slide surface.
Replacement Triggers
Replace or refit when the foot grows past the toe allowance, when the heel starts lifting, when the slide surface wears glossy or uneven, or when the braking sole loses grip. On replaceable models, renew the pad first and recheck fit second. A growing child's pair rarely stays correct for an entire season without at least one recheck, so treating the preseason fit check as the minimum keeps you ahead of the problem.
Confirm the Fit and Pick Your Pair
The verdict comes first. Choose the shoe type that matches your child's level of play, then let the fit benchmarks make the final call. Color, brand, and price only matter after those two decisions are settled.
Your Final Three-Step Check
- Measure both feet with the home routine, in bowling socks, in the evening.
- Compare against the age benchmark for toe allowance and heel elevation, using the larger foot.
- Test both feet in motion with a walk and a slow slide step on a hard surface, watching for heel lift and toe jam.
If you're torn between two sizes, take the pair that passes the toe and heel benchmarks, not the pair that looks roomier. A shoe that passes gives your child predictable control at the foul line. An oversized pair trades that control for a few extra weeks of wear, and your child pays for the trade on every approach.
One honest note on how we work. Bowling Gear Reviews only recommends products it believes offer value to readers, and it participates in affiliate marketing programs, so some links may be affiliate links that earn a commission at no additional cost to you. The fit criteria above don't change based on any commission, and we'd give you the same benchmarks if every link paid nothing.
Your next step is small and repeatable. Recheck the fit before each season, replace the pair when your child's foot grows past the benchmark, and let your child pick the color only after the right row and the right size are decided.
Ready to put these benchmarks to work? Visit Bowling Gear Reviews for hands-on shoe evaluations covering narrow and wide fits, slide systems, and replaceable soles, all tested on real lanes. Bring your child's measurements, match them against our fit guidance, and choose a pair that helps them finish balanced on every approach.
