

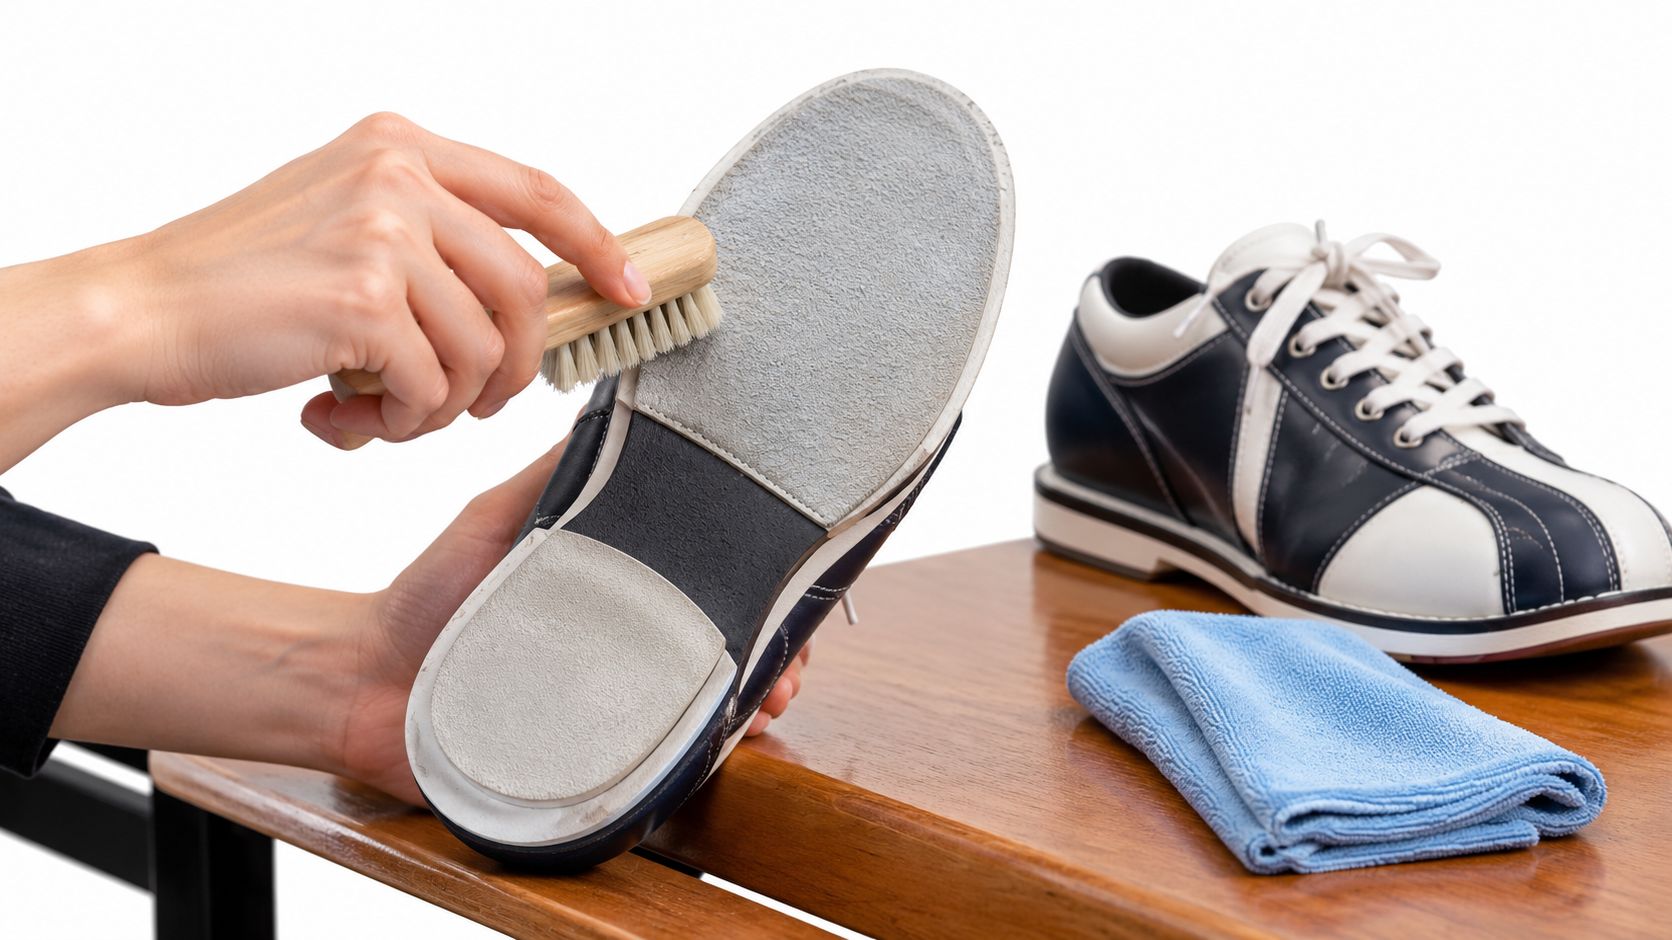
You're standing on the approach in frame seven, your slide foot grabs where it should glide, and your knee absorbs the stop your shoe was supposed to smooth out. Nothing looks wrong. The shoes are clean, maybe too clean, because last night you scrubbed them like sneakers. That is how most slide problems start.
Learning how to clean bowling shoes isn't about making them look new. It's about preserving the engineered texture on each part of the shoe, restoring it when it's dirty, and never accidentally replacing it with soap residue, flattened fibers, or heat damage.
Table of Contents
- Why Bowling Shoe Cleaning Is Really About Slide Control
- What You Need Before You Touch the Shoes
- Cleaning the Slide Sole Without Changing the Slide
- Uppers, Traction Heels, and Interchangeable Soles
- Dealing With Sweat, Odor, and Bag-Damp Shoes
- Cleaning Mistakes That Quietly Destroy Performance
- Storage, Travel, and a Troubleshooting Cheat Sheet
Why Bowling Shoe Cleaning Is Really About Slide Control
A bowling shoe has three functional zones, and each one wants different treatment. The slide sole controls how far and how smoothly your lead foot travels. The traction sole and heel drive your steps and brake you at release. The upper just holds your foot, but it also traps sweat that can work down into adhesives.
Contamination breaks the contract between those zones. A damp spot, grit, or sticky residue changes friction abruptly, so you stick on one approach and over-slide on the next. That unpredictability doesn't just wreck timing. It can put you on the floor.
The visual below maps why this matters for safety, timing, and consistency at once.
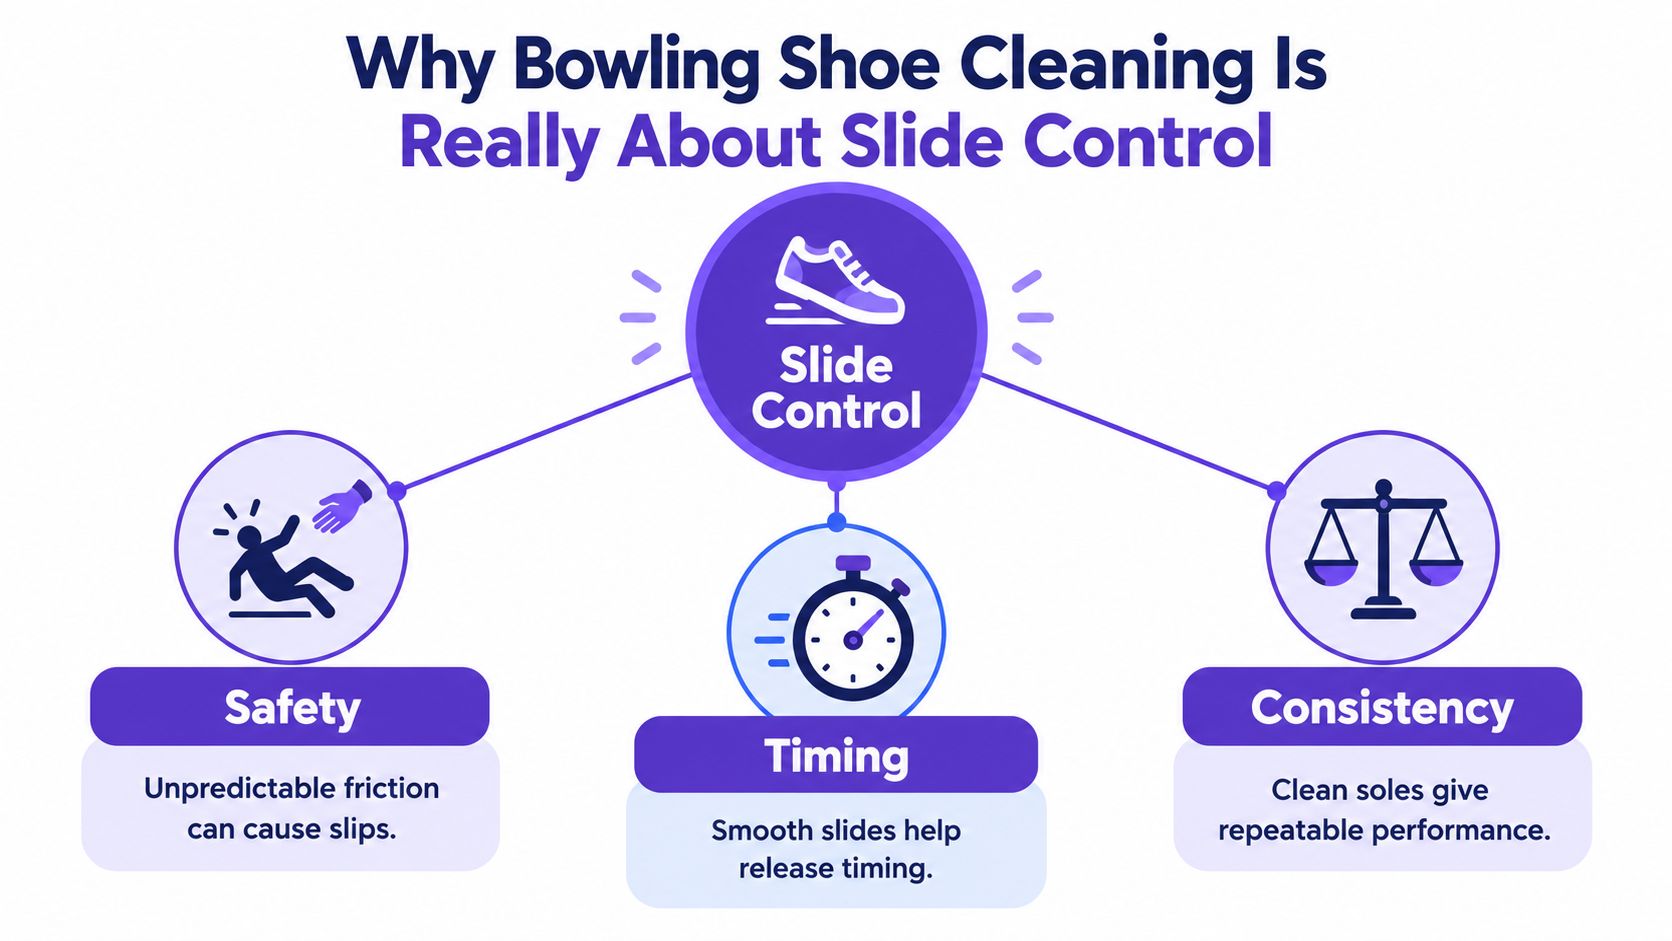
This isn't personal preference. The United States Bowling Congress guidance on keeping shoe bottoms clean and dry treats clean soles as a safety expectation, and AMF safety rules say to clean soles before bowling and after visiting a restroom or other areas. Moisture, humidity, and slippery or sticky substances are named fall risks.
Published standard: Clean, dry soles are a safety rule, not a style choice. Treat every trip off the settee as contamination until proven otherwise.
Understanding why bowling shoes are slippery by design helps here. That slipperiness is measured, not accidental. Your job when cleaning is to protect that measurement, zone by zone, instead of scrubbing the whole shoe to one uniform standard.
What You Need Before You Touch the Shoes
Gather less than you think. Most damage I've seen came from a full kitchen arsenal, not from neglect. You need tools that remove dirt without adding anything to the sole.
The Working Kit
- Soft-bristle shoe brush: Your everyday tool for loose grit on the slide sole. Keep it dry and dedicated to bowling shoes only.
- Wire brush: Reserved for deliberate slide adjustments, not routine cleaning. More on that distinction later, because confusing the two ruins soles.
- Microfiber cloths: One for uppers, one kept clean for spot work. Don't use the same cloth you wipe ball oil with.
- Mild leather-safe cleaner: Only for uppers, and only if the manufacturer permits it. Nothing from this bottle should ever reach a slide surface.
- Shoe covers: The cheapest performance tool you own. They prevent contamination instead of forcing you to clean it off later.
The Pre-Clean Inspection
Before any brushing, tap the soles together over a trash can to knock loose debris free. Then look closely. You're checking for embedded grit in the slide sole, peeling edges on pads or heels, hardened residue, and interchangeable components that aren't seated flat.
Run a fingertip lightly across the slide sole. It should feel even. A rough patch, a slick patch, or a lifted corner tells you what kind of cleaning, if any, the shoe needs. Skip the inspection and you'll brush a peeling pad looser or spread sticky residue wider.
Leave the rest in the car. Powders, sprays, soap, and abrasives have no place in the settee area, and bringing them courtside makes it too easy to improvise mid-game.
Cleaning the Slide Sole Without Changing the Slide
Start dry, always. Brush the slide sole lightly in the toe-to-heel direction, following the path your foot travels during the slide. The Bowlio guide to brushing the slide sole along the normal sliding path makes the same point, and it matters because direction is what protects the nap.
The four-step sequence below shows the order I use after every session.
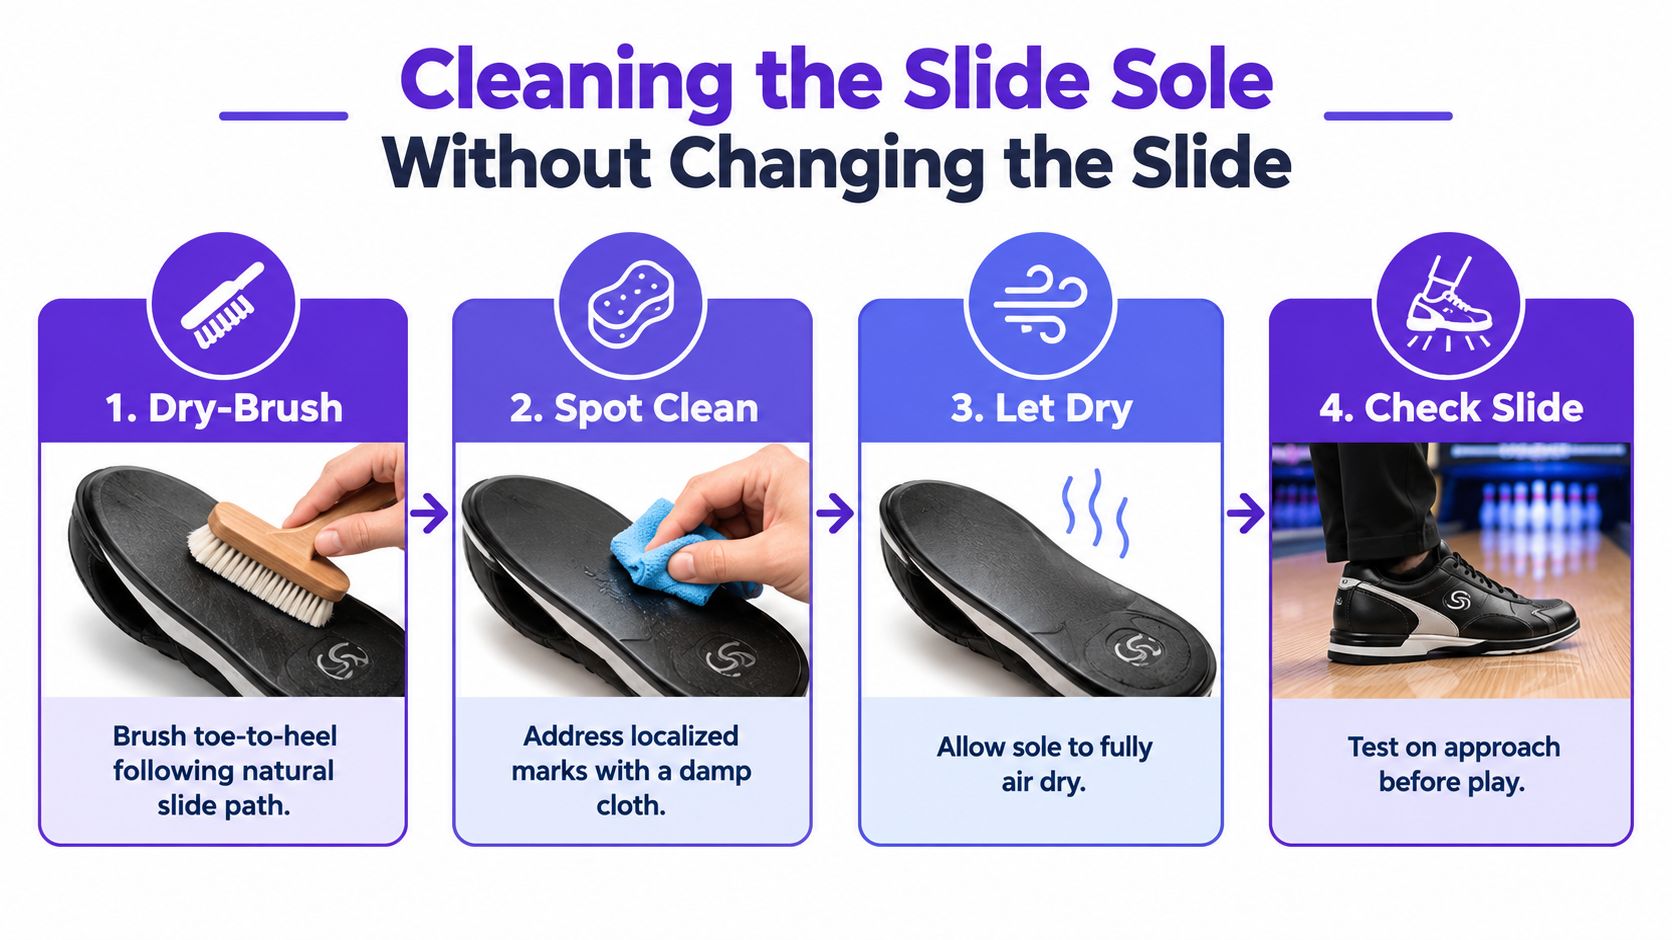
Side-to-side scrubbing feels thorough and does the opposite. It flattens or tears the nap, the raised fiber texture that meters friction. Once that nap lies flat in patches, no amount of brushing brings back an even slide. I've killed a perfectly good sole exactly this way, scrubbing harder because it still looked dirty.
Match Pressure and Moisture to Material
Smooth leather slides tolerate the least moisture. Dry-brush them, and touch a stubborn spot with a barely damp microfiber cloth, then let it dry fully. Sueded microfiber needs lighter pressure, since its fine fibers mat down easily when wet or pressed hard. Felted slides on higher-end performance shoes sit between the two, responding well to gentle dry brushing but losing consistency if soaked.
Spot clean only the spot. Wetting the whole sole to fix one mark changes friction across the entire surface, and you'll spend the next game guessing.
Watch the brushing motion and pressure in the demonstration below before you try it on your own pair.
The wire brush is a tuning tool, not a cleaner. Used deliberately, smooth toe-to-back strokes can increase slide, while side-to-side strokes can reduce it. That's a controlled adjustment you make on purpose and test carefully. Using it to dig out dirt is how bowlers change their slide without meaning to.
If the sole gets wet, sticky, or contaminated mid-session, stop. Leave the approach, tell center staff, and clean, exchange, or service the shoe properly. Bowling through it risks a fall and transfers the problem to everyone behind you.
Uppers, Traction Heels, and Interchangeable Soles
Treat everything that isn't the slide sole as separate jobs with separate tools. The mistake is carrying momentum from one zone into the next with the same wet cloth.
Uppers First, Gently
Wipe leather or synthetic uppers with a slightly damp microfiber cloth after each session. If you use a cleaner, pick one the manufacturer approves, apply it to the cloth rather than spraying the shoe, and dry the surface right away. Spraying directly lets liquid wick into seams and stitching where you can't wipe it back out.
Synthetic uppers forgive a little more moisture. Leather doesn't. Repeated soaking stiffens leather, and stiff uppers change how the shoe flexes during your approach, which changes footwork you've drilled for months.
Traction Heels and Removeable Parts
Clean rubber traction heels separately with a stiffer brush or cloth. Dig out embedded pebbles and grit from the tread, because a single lodged stone changes how your braking foot plants. Check for uneven wear too. A heel worn down on one edge tilts your finish position.
For interchangeable soles and heels, peel pads off slowly and evenly so you don't strip the mounting surface. Brush debris from the receiver before reseating anything, since trapped grit creates a bump you'll feel on every slide. Press the pad down fully and check the edges with a fingertip.
When a pad won't sit flat or the hook-and-loop surface is worn smooth, replace the insert instead of forcing it. The process in this guide to replacing soles on bowling shoes covers fit and seating in detail. Forcing a tired pad tighter only buys you a mid-approach surprise when it shifts.
A pad that lifts at the edge during inspection will lift harder under body weight. Replace it at the bench, not at the foul line.
Dealing With Sweat, Odor, and Bag-Damp Shoes
Exterior cleaning and interior deodorizing are different jobs, and mixing them is where sprays end up on slide soles. Keep every odor product inside the shoe, and question whether you need it there at all.
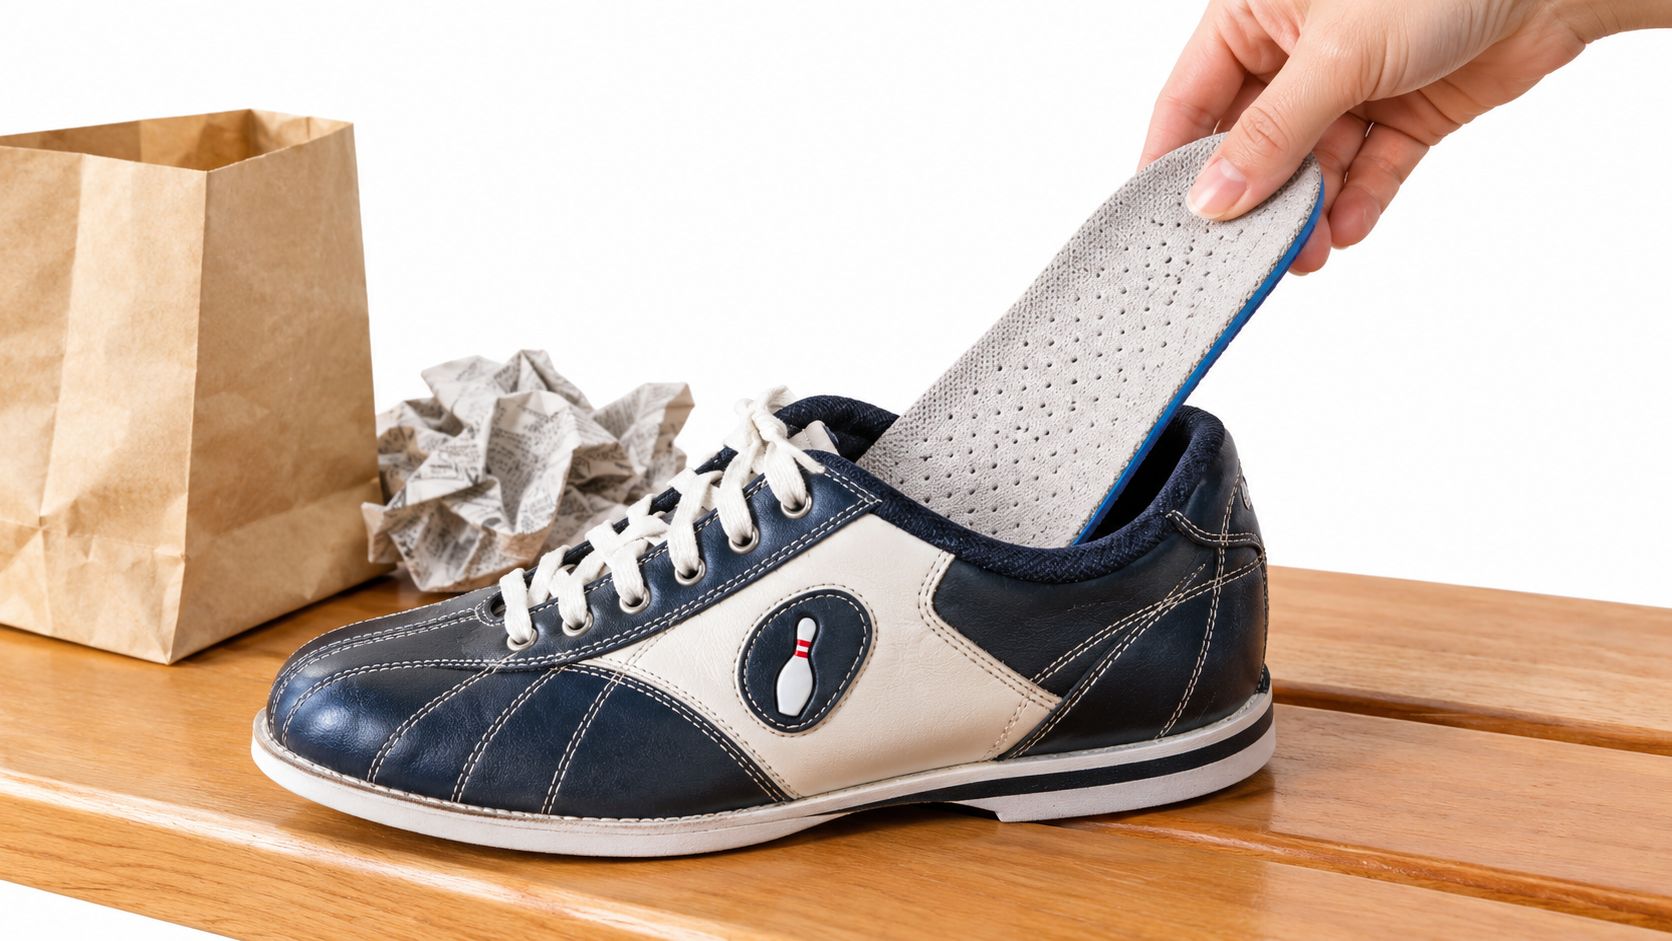
Start with airflow, which costs nothing and damages nothing. Pull the insoles out after every session so both the insole and the shoe interior can dry. Loosen the laces, open the tongue wide, and leave the shoes at room temperature. Guidance collected in this overview of removing insoles and ventilating bowling shoes points the same way, toward ventilation and away from direct heat.
The photo below shows the insole step that makes the biggest difference overnight.
The Overnight Protocol Between League Nights
Stuff the shoes loosely with plain paper to draw moisture, and swap the paper if it feels damp. Let everything dry completely before enclosed storage, because sealing damp shoes in a bag is what turns one sweaty night into a permanent smell. If odor persists across sessions, replace the insoles rather than saturating the shoe with chemicals.
Antibacterial sprays aren't universally safe here. A product fine for a synthetic upper can leave residue on adhesives or migrate to a suede-like slide sole. Test cautiously, keep spray off the soles entirely, and prefer a moisture-wicking replacement insole when sweat is the problem.
Skip the shortcuts that promise speed. Heaters, hair dryers, and direct sunlight dry faster, but heat can warp materials, degrade adhesives, and harden leather. Soaking and machine washing are worse. Slow air at room temperature feels lazy. It is the method that preserves the shoe you paid for.
Cleaning Mistakes That Quietly Destroy Performance
Most bad advice sounds reasonable because it works on kitchen sneakers. Bowling shoes fail differently, through changed friction, damaged nap, and weakened adhesives. Each shortcut below trades a quick visible fix for an invisible performance cost.
Consider rental shoes as the contrast case. One bowling center safety policy describing peroxide-based rental shoe sanitation reports sanitizing rentals inside and out before and after every use. That's center-managed disinfection for shared footwear. Copying commercial disinfectant routines onto your personal leather and slide fabrics is a category error, and the residue alone can alter your slide.
Common DIY Fixes and What They Do
| Shortcut | Why It Fails | What To Do Instead |
|---|---|---|
| Baby powder or talc | Cakes into the nap as a grit magnet and creates uneven slide patches | Dry-brush toe-to-heel and test the slide |
| Rosin | Builds sticky residue that grabs unpredictably | Remove debris and inspect for worn nap |
| Dish soap | Leaves a slippery film you can't fully rinse from fibers | Barely damp cloth on the spot only |
| Alcohol wipes | Dry out leather and break down adhesives | Manufacturer-approved cleaner on uppers only |
| Magic eraser | Acts as fine sandpaper and removes engineered texture | Soft brush with light, directional strokes |
| Hairspray | Deposits tacky residue that collects approach dust | Stop, clean dry, or change the pad |
The pattern is simple once you see it. Anything that adds a substance to the slide sole replaces the manufacturer's texture with your own untested coating. Anything abrasive removes that texture outright. Good cleaning only takes away what doesn't belong and leaves the surface exactly as designed.
When you see a new tip online, ask one question. Does it preserve, restore, or replace the texture? If the answer is replace, close the tab.
Storage, Travel, and a Troubleshooting Cheat Sheet
What happens between sessions decides how much cleaning you'll need at the lanes. Damp storage undoes careful brushing faster than dirty approaches do.
Store shoes in a breathable shoe bag, never sealed plastic, and only after they're fully dry. Drop silica gel packs in the bag to absorb lingering moisture. Keep shoes out of hot car trunks, where heat works on adhesives the same way a hair dryer does, just slower.
The checklist below pulls storage, travel, and quick fixes into one reference.
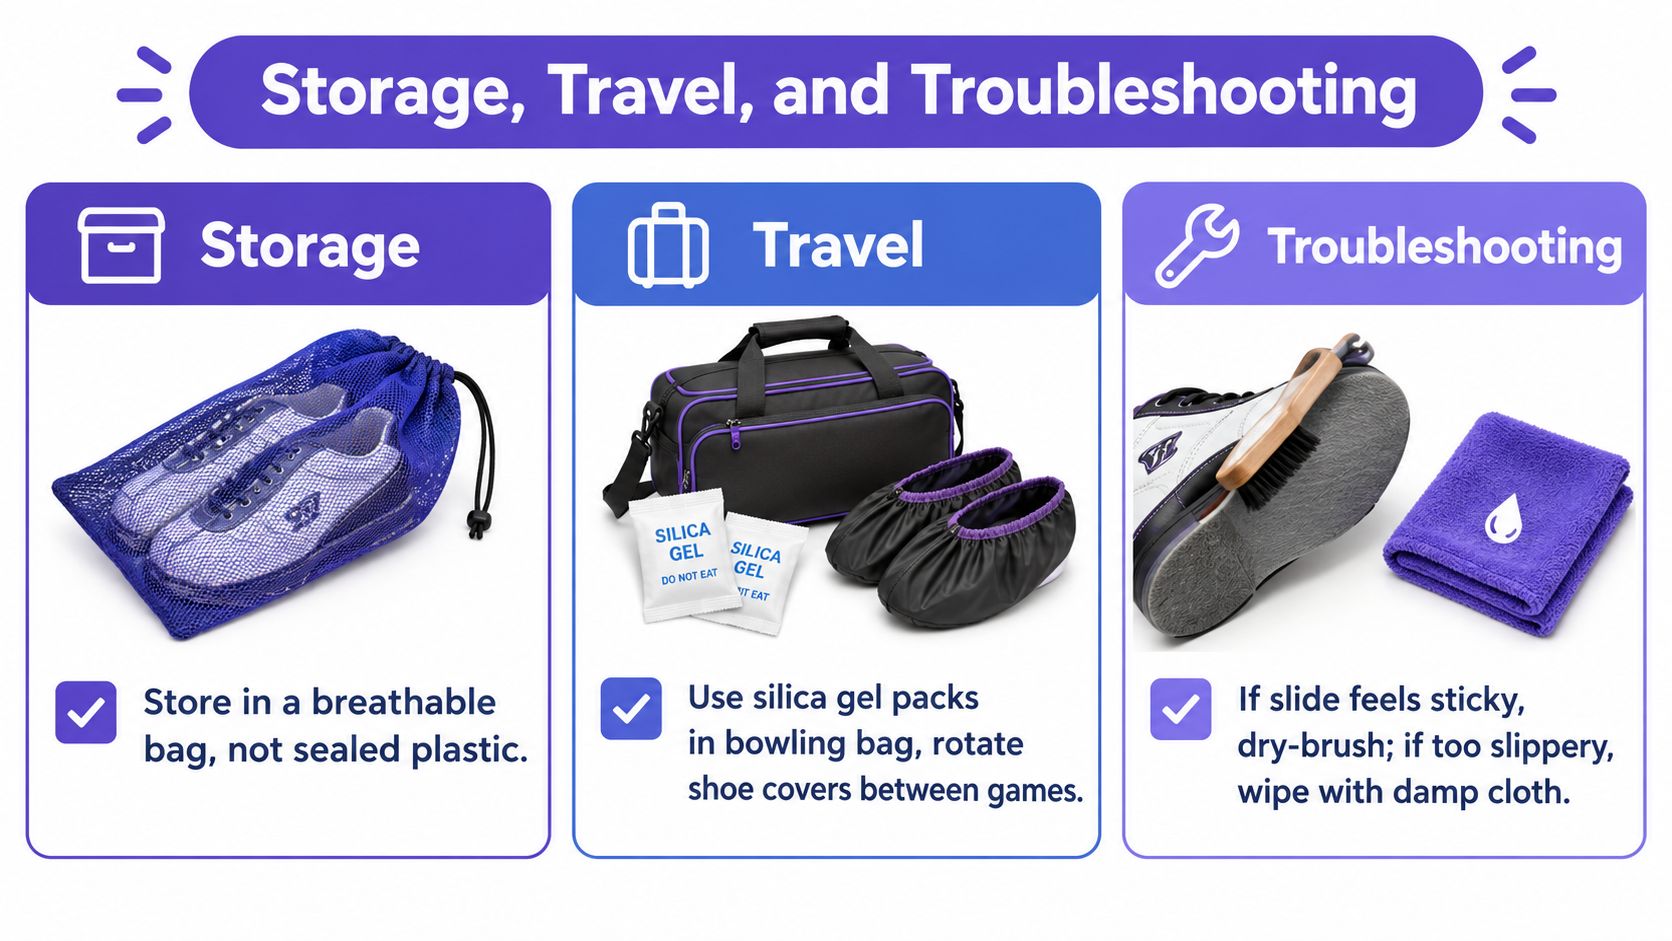
For travel, put shoe covers on before you cross the parking lot, not at the door. Pack shoes so nothing heavy crushes the heels or bends a pad edge, and keep spare soles flat. A roomy wheeled bowling ball bag with a separate shoe compartment makes that easier than stuffing shoes against ball cups. At a new center, let your shoes sit open in the settee area for a bit so they acclimate to the humidity before you judge the slide.
Troubleshooting by Symptom
- Sticky slide: Suspect debris, moisture, or flattened nap first. Dry-brush toe-to-heel, inspect for residue, and test a short slide before your first full approach.
- Over-sliding: Look for contamination or an over-conditioned, residue-coated sole. Wipe the spot with a barely damp cloth, dry fully, and retest rather than adding powder.
- Alternating stick and slip: That's patchy contamination, the most dangerous pattern. Stop and clean or change the pad. Don't try to bowl through it.
- Persistent odor: The problem lives in the insole or interior, not the sole. Air everything out, then replace insoles if the smell survives drying.
- Peeling or thin sole: Cleaning can't fix worn-out material. Retire the pad or shoe before it fails mid-slide.
Between-session rule: Dry first, bag second, covers always. That order prevents most problems you'd otherwise try to scrub away later.
Build the habit small. Brush after play, pull the insoles, dry overnight, inspect before the next session. Four unglamorous steps will outlast every miracle product in your feed.
Your slide deserves gear advice grounded in lane testing, not guesswork, and Bowling Gear Reviews publishes hands-on shoe evaluations, replaceable sole comparisons, and care guides built around exactly that standard. Visit before your next league night to check fit and slide system recommendations for your approach style, and put a brush and shoe covers in your bag tonight so your next session starts clean.
