

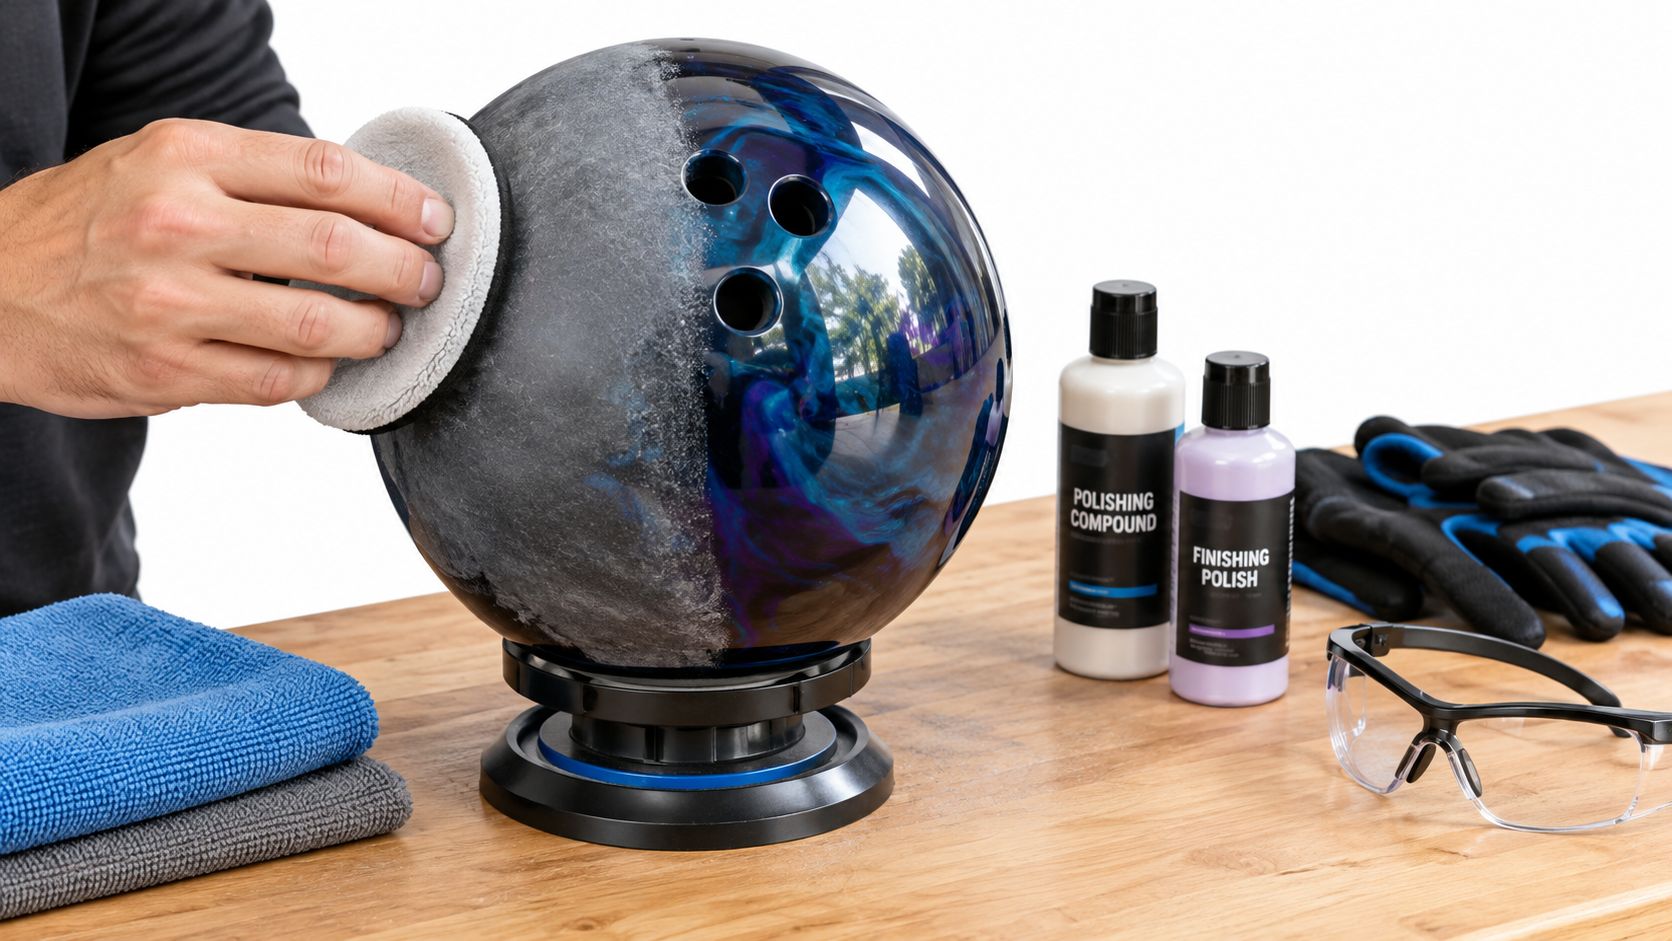
You can bring a bowling ball to a high gloss at home in about an hour with common materials, but competitive bowlers must stop all abrasive surface alterations once the first competitive ball is thrown. Treat polishing as pre-competition preparation, never as a between-game adjustment.
Your ball may look dull after league night, and the obvious temptation is to buff the track before the next game. That quick fix can change the reaction unevenly, and under USBC competition rules it can also remove the ball from play. A proper home polish starts with deciding whether the ball needs polishing at all, then preparing the entire coverstock consistently before you arrive at the lanes.
Table of Contents
- Understanding When and Why to Polish Your Ball
- Gathering Your Materials and Safety Gear
- Inspecting and Preparing the Ball Surface
- Applying Polish for a Uniform High-Gloss Finish
- Documenting Your Finish and Testing Responsibly
- Home Maintenance Routines and Rule Compliance
Understanding When and Why to Polish Your Ball
A bowler notices a dull track area after league play and assumes the ball needs shine. Sometimes it only needs cleaning. Lane oil, dirt, and residue can make a coverstock look tired without requiring a change to its texture. Cleaning removes contamination. Polishing changes surface friction and therefore changes ball motion.
That difference matters after competition begins. USBC guidance permits sanding, polishing, or cleaning before league or tournament play, but once the first competitive ball has been thrown, abrasive materials such as sandpaper, Abralon, or Scotch-Brite can't be used. The ball may generally be wiped only with a dry towel after that point, including during warm-up. Altering the surface can lead to removal from competition and penalties such as disqualification or suspension under applicable rules. The bowling ball face guide is useful background, but rule timing should always come first.
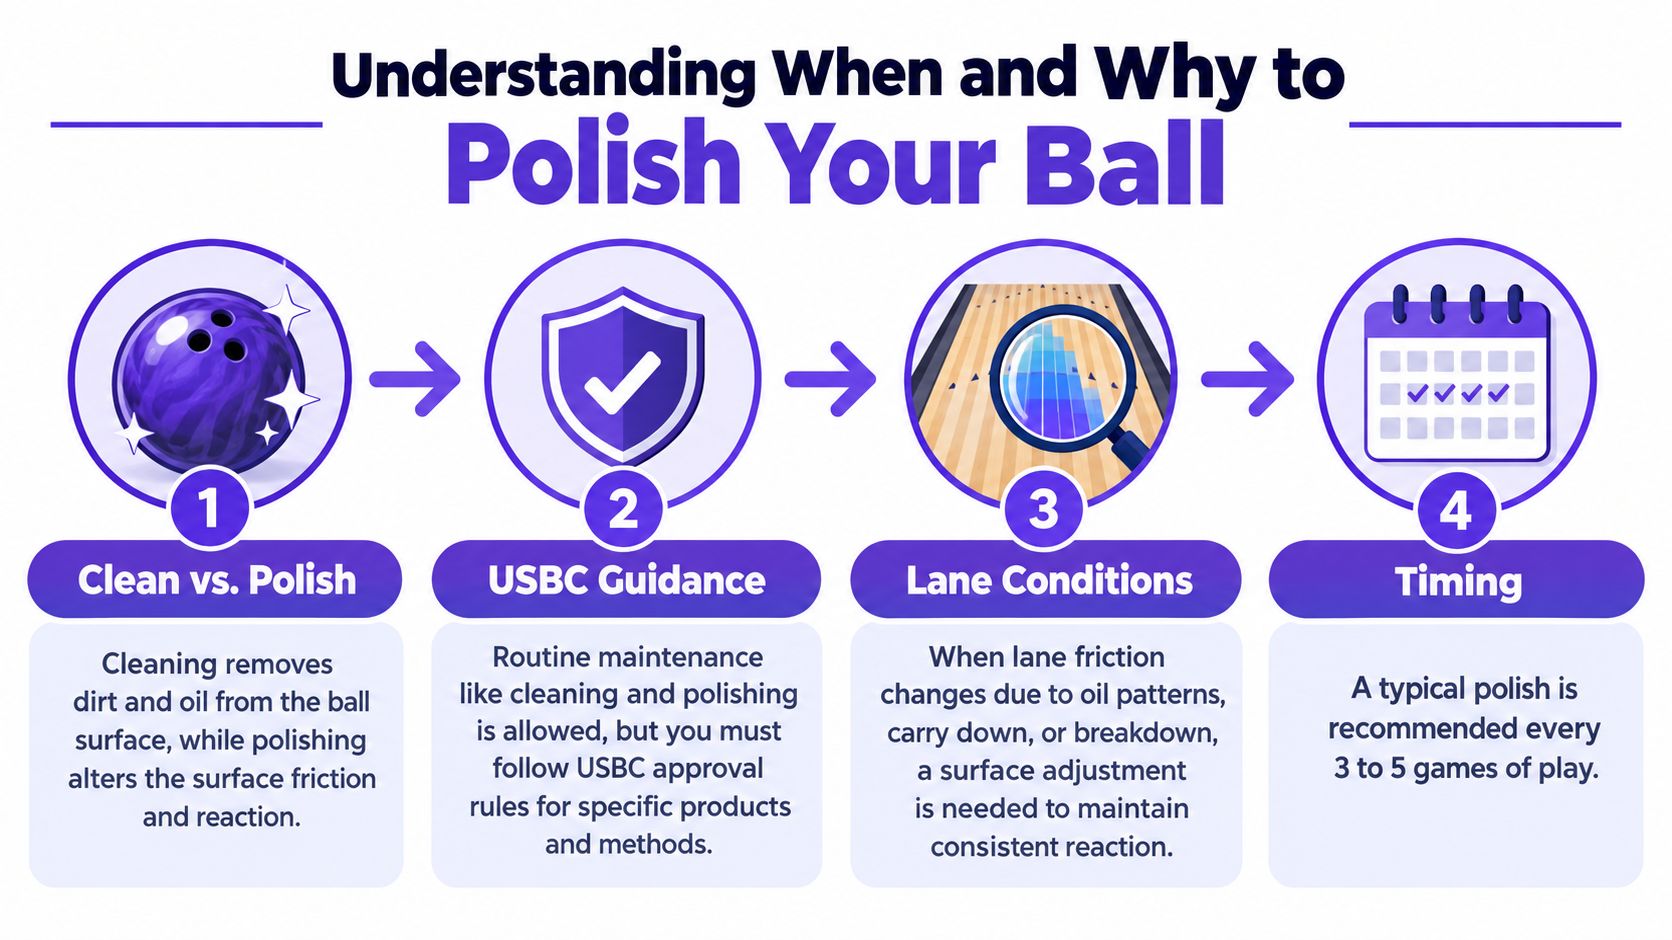
Shine isn't automatically better
Polish normally creates a smoother, later reaction. A polished cover can clear the front of the lane more easily, preserve energy longer, and produce a more pronounced move when it reaches friction. That may help when the current surface hooks too early, but it can hurt a bowler who already struggles to create traction.
The opposite mistake is spot-polishing only the track or one dull patch. USBC equipment guidance requires the entire outer surface to receive uniform treatment when sanding or polishing alters friction. Selective treatment can create asymmetric friction, an inconsistent breakpoint, and a ball that behaves differently from shot to shot.
Practical rule: Decide the reaction you need before reaching for polish. If the problem is oil or dirt, clean first. If the ball needs a different motion, prepare the entire surface before competition.
Gathering Your Materials and Safety Gear
A controlled polish requires fewer tools than a full resurfacing, but each one has a job. Gather everything before opening the compound so you aren't balancing a wet ball while searching for a towel.
- Ball-safe cleaner: Use a cleaner designed for bowling-ball coverstocks. Household solvents and improvised chemicals can affect the shell or leave residue.
- Microfiber towels: Keep separate towels for cleaning, applying compound, and final buffing. A towel that already carries grit or oil can create streaks.
- Polishing compound: Choose a bowling-specific polish that matches the finish you want. Follow its label for curing and buffing instructions.
- Foam or microfiber applicator: Apply polish to the pad, not in a heavy puddle directly onto the ball.
- Ball cup or stable stand: A holder keeps the ball from rolling and makes hand polishing safer.
- Spinner, if available: A ball spinner gives the most even coverage because the shell rotates at a controlled rate while you maintain consistent pad contact.
- Masking materials: Painter's tape or hole covers can protect finger and thumb openings from compound.
- Eye protection and ventilation: Work where air circulates, keep compound away from your eyes and skin, and follow the product's safety directions.
Hand polishing can work when you don't own a spinner. The trade-off is consistency. You must rotate the ball yourself and keep pressure, contact time, and overlap steady across every panel. A spinner improves repeatability, but it doesn't compensate for poor coverage or excessive pressure.
Don't substitute an orbital sander or a rigid flat pad. Bowling balls are spherical, and a hard flat tool concentrates contact in a small area. That makes uneven cutting or flat patches more likely than a controlled bowling-specific process.
Before starting, clear a clean work surface. Dust, grit, and metal filings can become trapped in the compound and scratch the coverstock. Keep the ball away from food, household cleaners, and loose abrasive materials.
Inspecting and Preparing the Ball Surface
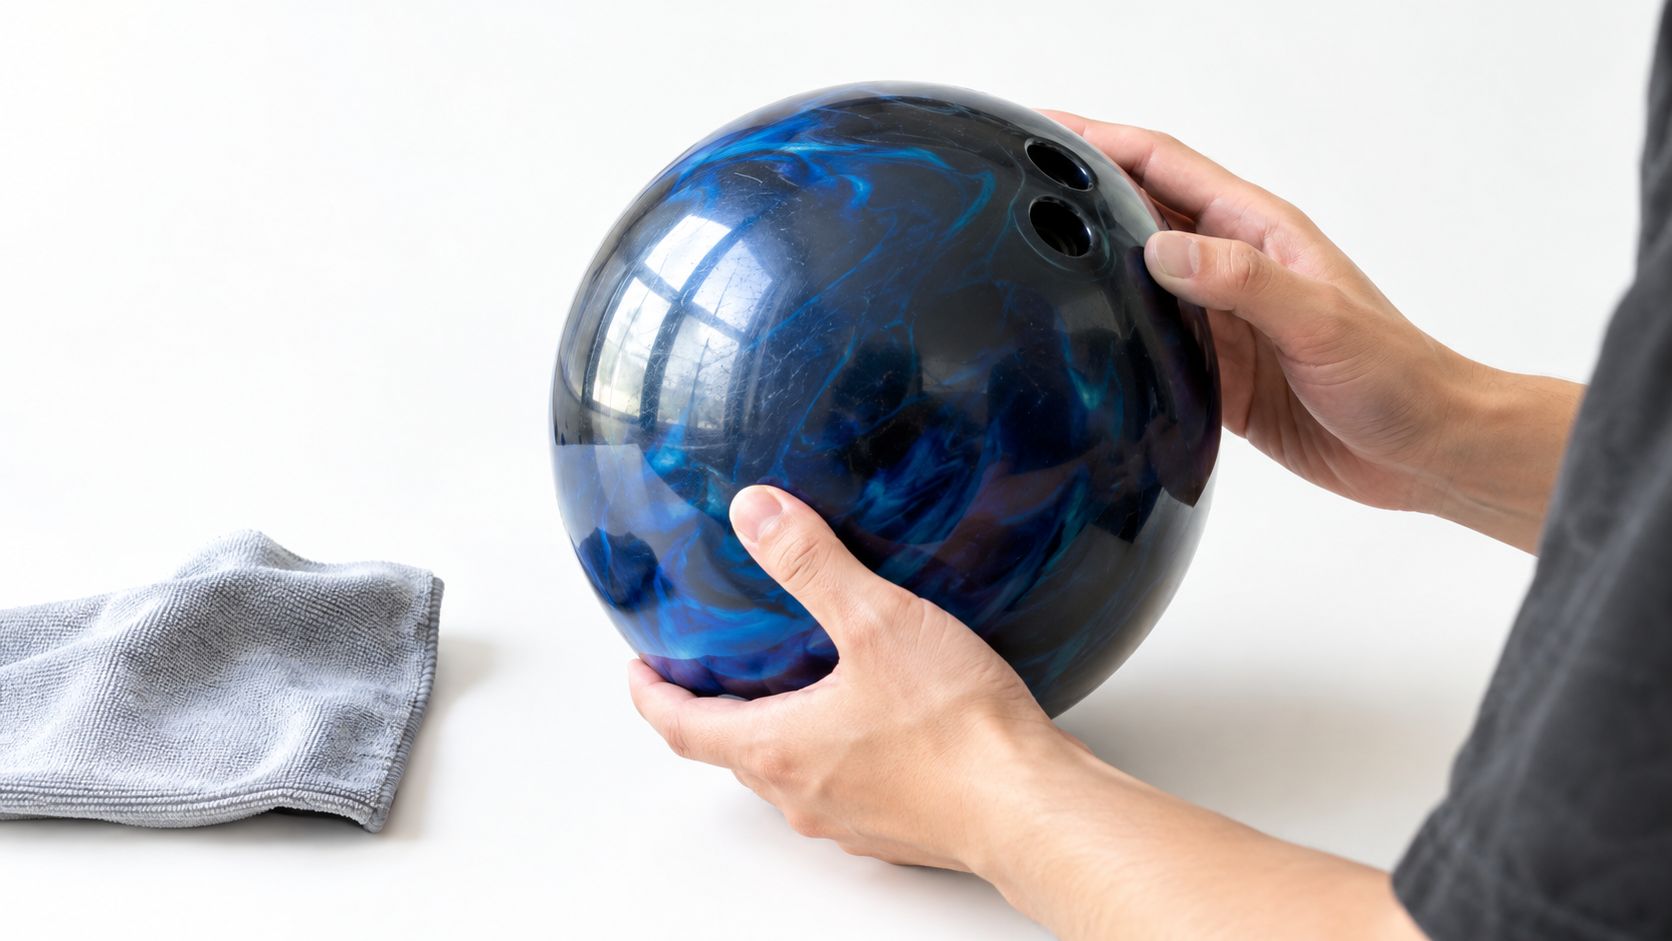
Polishing can't repair structural damage. Hold the ball under strong light and inspect the shell for cracks, deep gouges, separation, or damage around the finger and thumb holes. If you find a crack or deep damage, stop and take the ball to a pro shop. Working compound into a compromised coverstock can make a repair harder and may conceal a problem that needs professional assessment.
Clean before changing the surface
Start with a ball-safe cleaner and a clean microfiber towel. Work around the entire shell, paying attention to the track and any area that feels oily or looks cloudy. Continue until the towel stops picking up visible residue, then let the ball dry completely.
Rushing the drying stage creates two problems. Moisture can dilute the compound, and leftover oil can prevent polish from contacting the coverstock evenly. A clean, dry surface gives you a reliable starting point and makes the finished gloss easier to judge.
Protect the holes before applying product. Mask the rims with painter's tape, use purpose-made hole covers, or keep the openings facing away from the applicator as you rotate the ball. Compound in a thumb or finger hole can affect fit, contaminate inserts, and make the grip feel inconsistent.
Treat the entire shell uniformly
Don't polish only the track because it looks dull. When friction is altered, USBC equipment guidance requires uniform preparation across the ball's outer surface. The bowling ball sanding guide can help you understand why surface preparation must follow the ball's curve rather than target one visible lane-contact area.
Before applying compound, identify the existing finish if you can. Check the manufacturer's surface specification or your pro shop record. That information helps you decide whether a light polish is appropriate or whether the ball needs a more complete resurfacing service.
Applying Polish for a Uniform High-Gloss Finish
Begin with a small amount of polish on a microfiber or foam pad. Applying a heavy layer directly to the shell wastes product and makes residue harder to remove. The pad should carry enough compound to work the section, not so much that it slides across the ball without controlled contact.
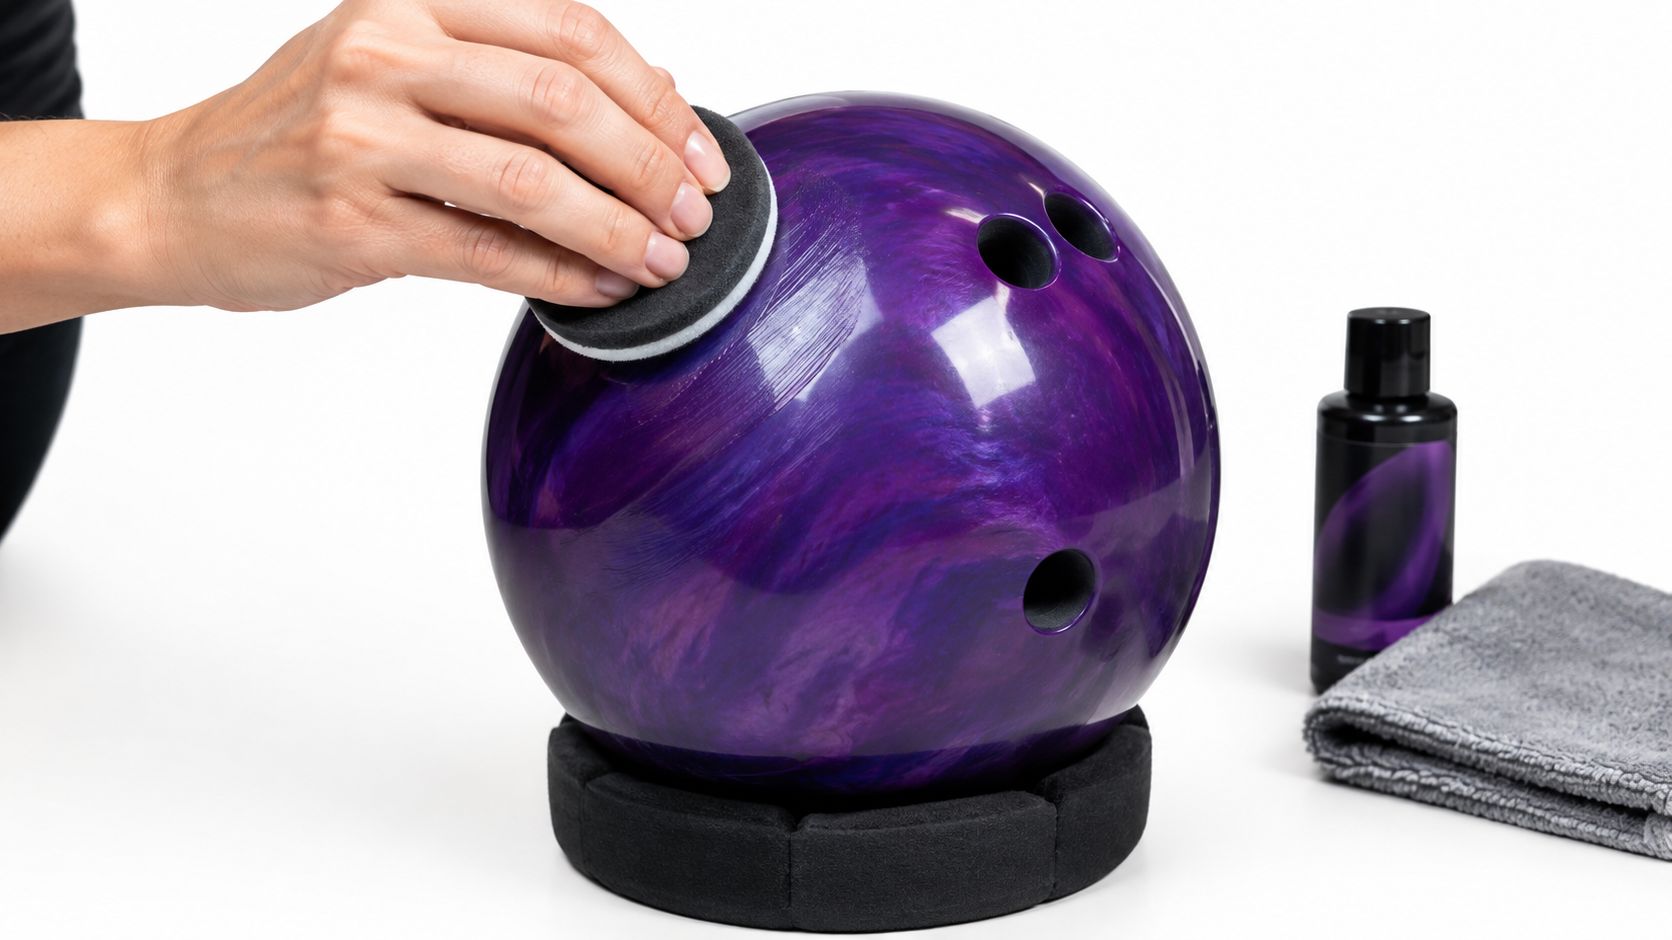
Set the ball on a cup or spinner and work in overlapping sections. Use light, steady pressure and keep the pad moving. Rotate the ball often so the working area changes, and overlap each pass with the last one instead of leaving hard boundaries between polished panels.
A spinner provides the cleanest path to uniformity. It keeps the ball turning while you control the pad, reducing the chance that one section receives more dwell time than another. Hand polishing is still practical, but mark your starting point mentally or with removable tape and rotate the ball through a consistent sequence.
Watch the finish while you work
Excessive pressure doesn't necessarily create a better shine. It can load the pad with compound, create heat, and encourage streaking. If the pad drags, dries out, or leaves thick lines, stop and use a clean section of the pad with the amount of product recommended by the manufacturer.
Work across the whole accessible coverstock, including the areas between and around the holes. You may need to reposition the ball to reach the underside. Don't let convenience turn a full-surface process into track-only treatment.
Use the product's specified curing or buffing method. Some polishes need time to haze or set before removal, while others are buffed during application. Once the finish is ready, remove residue with a clean microfiber towel and inspect the shell under good light.
Uneven gloss is a warning, not a cosmetic detail. Dull patches, compound streaks, or a sharply shinier track indicate inconsistent friction and deserve another careful pass before testing.
The embedded demonstration can help you compare pad movement and coverage with your own process:
A successful polish should look consistent from panel to panel. If one area is glossy and another remains visibly dull, don't throw the ball first and diagnose it later. Clean the affected area, correct the coverage, and finish the preparation before taking it to sanctioned competition.
Documenting Your Finish and Testing Responsibly
A polished ball is easier to manage when you record what you did. Write down the product name, the finish you targeted, whether you used a spinner or hand application, and the lane conditions used during testing. This turns a vague memory into a repeatable setup you can discuss with a coach or pro shop technician.
Common polished finishes sit approximately in the 4,000 to 5,500 grit-equivalent range, according to the bowling-ball surface-care guidance. A 5,000-polished finish is marketed as adding roughly 4 to 8 feet of length, but that is only a reference point. Actual motion depends heavily on coverstock, oil volume, speed, and rotation, so don't treat the figure as a promise for your ball.
Check the result before practice
Use a visual checklist before the ball reaches a lane:
- Coverage: The shell has a consistent appearance with no untreated dull patches.
- Residue: Compound is removed from the coverstock, edges, and protected areas.
- Holes: Finger and thumb openings are clean, with no polish inside inserts or gripping surfaces.
- Record: The product and intended finish are written down for future comparison.
- Timing: The ball is being tested during practice, before any sanctioned competition has started.
Test the ball only in practice. Watch when it begins to read the lane, how it transitions through the midlane, and whether the breakpoint matches your intended shape. A smoother surface may create more length and a later move, but the same change can leave the ball too clean through the front or too sharp off the breakpoint.
Don't test after the first competitive ball has been thrown. Once competition begins, surface alteration is no longer a safe adjustment option, even if the ball hasn't yet been used. Make your decision before arriving, then use only permitted maintenance during play.
Between sessions, remove lane residue with an approved cleaner and a microfiber towel. Do not add another layer of polish just because the ball has lost its showroom shine. Judge the finish by reaction, coverage, and legality, not appearance alone.
Home Maintenance Routines and Rule Compliance
A reliable routine separates three jobs that bowlers often combine: wiping away lane oil, cleaning embedded surface contamination, and changing the coverstock's friction. The first two preserve the existing setup. The third changes ball motion and must be completed before competition.
After practice or league, wipe the ball with a microfiber towel and clean it with a ball-safe product when appropriate. If the ball still reacts consistently and the surface looks even, leave the finish alone. A polish isn't automatically an improvement, especially when the ball already needs more traction.
Choose the right level of service
Use home polishing when the coverstock is sound, you understand the desired reaction, and you can treat the entire shell evenly. Choose a pro shop when the ball has cracks, deep damage, severe track wear, or needs a substantial resurfacing rather than a finish refresh. Professional equipment also makes uniform material removal easier when hand work would be uncertain.
Storage protects the work. Keep the ball in a clean bag, away from extreme temperatures and direct sunlight, and don't leave it in a hot vehicle or freezing garage. Transport it so the shell doesn't rub against loose abrasive items or contaminated towels.
Competition boundary: Finish every abrasive, polishing, or liquid-cleaning step before the first competitive ball is thrown. During competition, don't treat a between-game surface change as routine maintenance.
The bowling ball maintenance guide can support a broader care routine, but always verify the current rules for the organization and event you're entering. Casual practice and sanctioned league or tournament play may not have identical requirements, and USBC rules specifically prohibit abrasive surface alteration after competition begins.
The safest decision framework is simple. Clean when the ball is dirty but its reaction is right. Polish when you deliberately want a smoother, later motion and can prepare the complete surface before competition. Visit a pro shop when damage, deep wear, or an aggressive surface change makes home treatment risky.
Bowling Gear Reviews evaluates bowling balls, shoes, bags, and accessories through hands-on testing, practical comparisons, and care guidance for bowlers at different experience levels. Visit Bowling Gear Reviews to compare equipment and find maintenance advice that helps preserve predictable ball reaction.
