

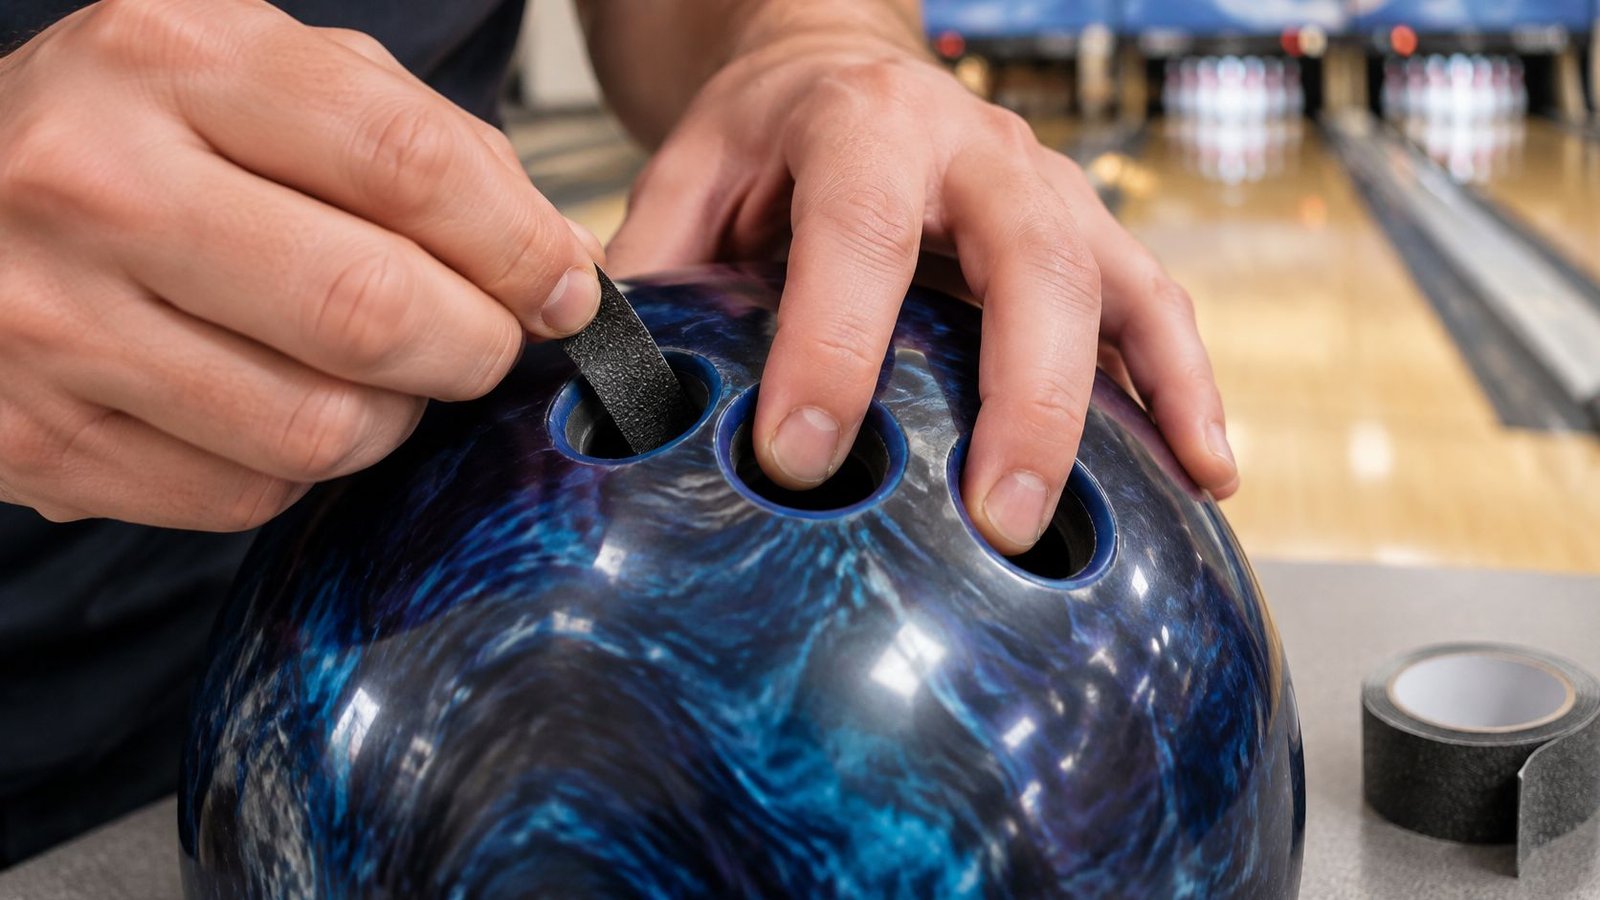
The usual advice to buy stickier bowling finger grip tape gets the problem backward. A finger that hangs in the ball doesn't need more grip. Extra tack can make you clamp harder, delay the exit, and turn a small fit problem into an inconsistent release.
Choose tape by where contact is missing or where friction is excessive, not by how aggressive the surface feels in your hand. Skin protection, hole clearance, and release friction are different jobs. The useful test is whether you can hold the ball with less effort and let it leave cleanly.
Table of Contents
- Pick Bowling Finger Grip Tape by Fit Symptom
- How to Apply Finger Grip Tape
- Adjust Thickness Until the Release Stays Clean
- Fix Slipping, Sticking, and Sore Fingers
- Replace, Care, and Decide to Keep or Refit
Pick Bowling Finger Grip Tape by Fit Symptom
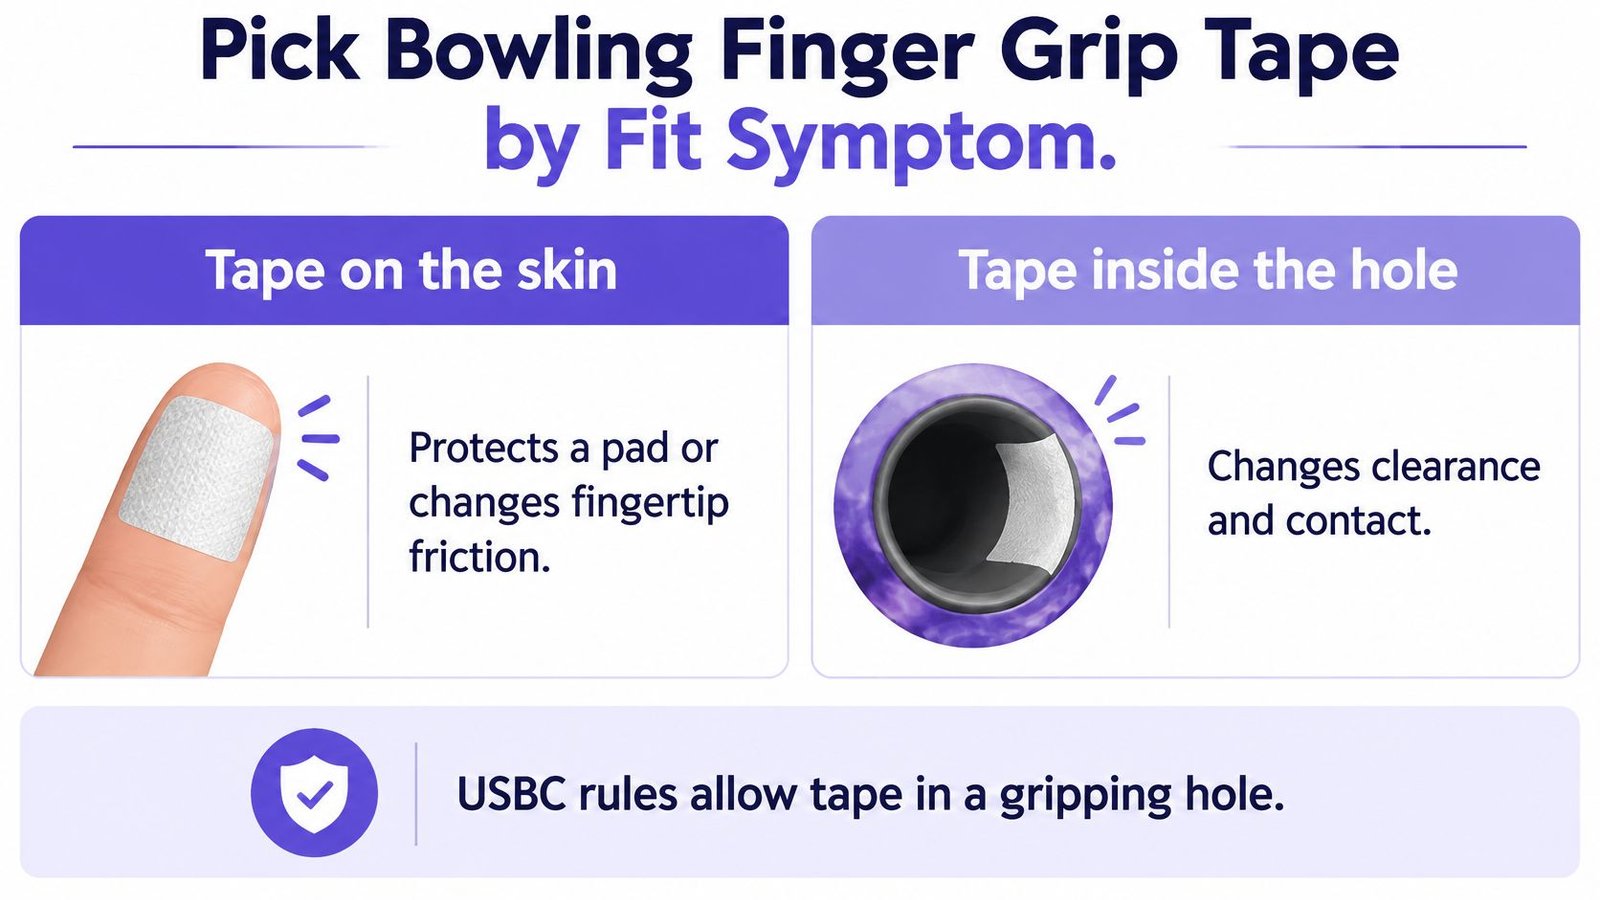
Finger-protection tape goes on the skin. Hole-fit tape goes inside the ball. The first protects an intact contact area or changes fingertip friction; the second changes clearance and where the finger meets the hole. They aren't interchangeable, even when both packages say grip tape.
Before buying, identify whether your finger moves inside the hole, catches during withdrawal, or rubs against an edge. If you're unsure how far your fingers should sit, compare the different bowling grip types before trying to correct the fit with adhesive.
The placement distinction is easier to see side by side.
Match the surface to the symptom
A textured strip is useful when the pad needs more secure contact. A smooth strip is useful when the finger needs to slide past the opposing wall. Adding either material also takes up space, so even smooth tape can make an already snug hole too tight.
Finger grip tape by fit symptom
| Symptom | Where the tape goes | Texture | Start with | Stop and see a driller when |
|---|---|---|---|---|
| Loose finger, ball drops early | Pad-facing wall inside the hole | Textured or tackier | One strip | Span, pitch, or diameter still feels wrong after a test session |
| Early grab or squeezed release | Opposite wall inside the hole | Smooth | One thin strip | Squeezing continues after friction is reduced |
| Raw but intact finger pad | On the skin, not in the hole | Soft protective | One thin layer, only if skin isn't inflamed | Skin is cut, blistered, or still sore after removal |
| Loose finger insert | Behind the insert | Smooth, folded small | One small piece | Pressure, numbness, or a deep mark appears |
| Sweaty or humid hand | Pad-facing wall inside the hole; dry the skin before testing | Tacky | One fresh strip | The strip repeatedly fails despite clean, dry contact surfaces |
The sweaty-hand row isn't permission to put hole tape on your finger. Choose a skin-rated product for skin application and a hole-fit product for the ball. An adhesive designed for one surface may be awkward or unsuitable on the other.
For a tender but intact pad, protection is only an option if the skin tolerates the adhesive. Don't cover inflamed skin, cuts, or blisters to keep bowling. A protective layer isn't a dressing or a treatment.
Keep tape within the legal fit
The USBC Playing Rules allow tape in a gripping hole provided plugs, inserts, tape, and slugs don't extend beyond the ball's surface; they also limit gripping holes to one per finger and one for the thumb and require every drilled gripping hole to be used on each delivery.
Tape can fine-tune a suitable drilling, but it can't correct the geometry of an unsuitable one. Span is the distance between gripping holes; pitch is their drilling angle. Diameter and edge bevel also affect how the finger enters and leaves.
Buying rule: Choose the placement first, the texture second, and the product last.
If a careful test session leaves the hand stretched, pinched, or forced into an unnatural position, stop experimenting. Have a qualified driller inspect the fit rather than buying a tackier roll.
How to Apply Finger Grip Tape
Work on one hole at a time. If you change both finger holes and add skin tape together, you won't know which adjustment helped or caused the catch.
Set out small scissors, a clean microfiber cloth, the appropriate tape, and a blunt tape-placement tool. Keep sharp tools away from the insert and hole wall, and don't scrape adhesive away with a knife.
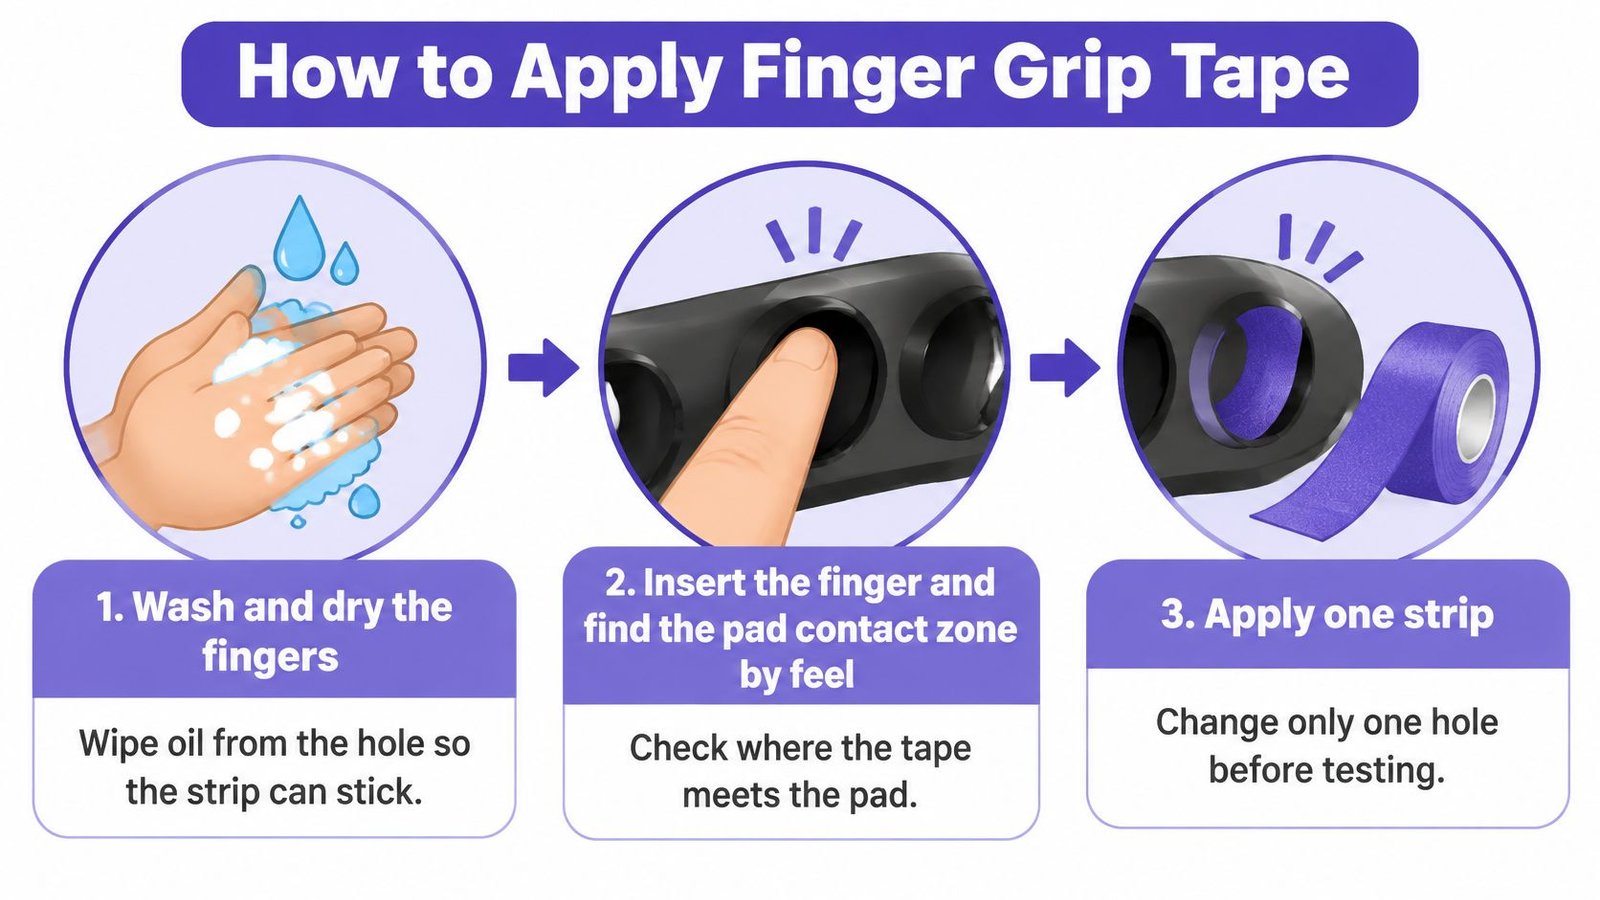
Use this visual to orient the strip before starting.
Prepare, place, and seat the strip
Wash and dry your fingers. Wipe oil from the hole with the cloth and let any cleaning moisture disappear. Adhesive needs a clean contact surface, not a film of lane oil or hand lotion.
Find the pad-facing wall by feel. Insert the finger to its normal depth and notice where the fleshy pad makes contact. Don't assume the visually centered position is the useful position.
Cut a strip that fits completely inside the hole. Leave its upper edge below the opening rather than folding it over the rim. A protruding edge can catch, peel, or interfere with contact at the bevel.
Feed the straight edge in first. For a loose fit, press textured or tackier tape onto the pad-facing wall. Guiding the straight edge first helps you control alignment without letting the adhesive fold onto itself.
Choose the opposite wall for easier release. If the finger already grabs, use smooth tape there instead of increasing tack beneath the pad. Smooth the strip flat so a wrinkle doesn't become a pressure ridge.
Treat a loose insert separately. A small folded piece of smooth tape can sit behind the insert as a retention shim. Don't force material underneath a bonded insert or use a bulky pack to rescue an obviously unsuitable size.
Check seating before bowling. With your other hand supporting the ball, insert and withdraw the fingers gently. Try a controlled, short swing only if retention feels secure, keeping people and equipment clear.
Bowl a short set before changing anything. Check whether the strip stays flat and the finger exits naturally. Add or remove material incrementally, rather than changing the layout after every delivery.
Keep skin application separate
For finger-protection tape, apply a fresh piece to clean, dry, intact skin without stretching it into a constricting wrap. Follow the product's intended contact area and smooth down the edges. Storm's Ultra Protect Tape guidance provides product-specific application context; for a practical comparison, use at least 10 shots without tape and 10 with the same placement, recording release feel, loft, rotation consistency, and miss direction.
Don't reuse a removed strip or apply tape over irritated skin or wounds. Don't mirror the same texture on both hole walls just to make the installation look even.
Watch the application demonstration with particular attention to contact position and edge seating.
The finished installation should feel deliberate: contact where you need it, a clear exit path, and no folded edge pressing into the finger.
Adjust Thickness Until the Release Stays Clean
More friction can delay the finger's exit. A thinner or tackier setup is not automatically better: tape should steady contact without making you squeeze the ball or force extra lift.
Judge changes during a repeatable delivery. A comfortable fit at the ball return is only a starting point. Keep a notebook nearby so each adjustment is based on the same observations, not the memory of one good shot.
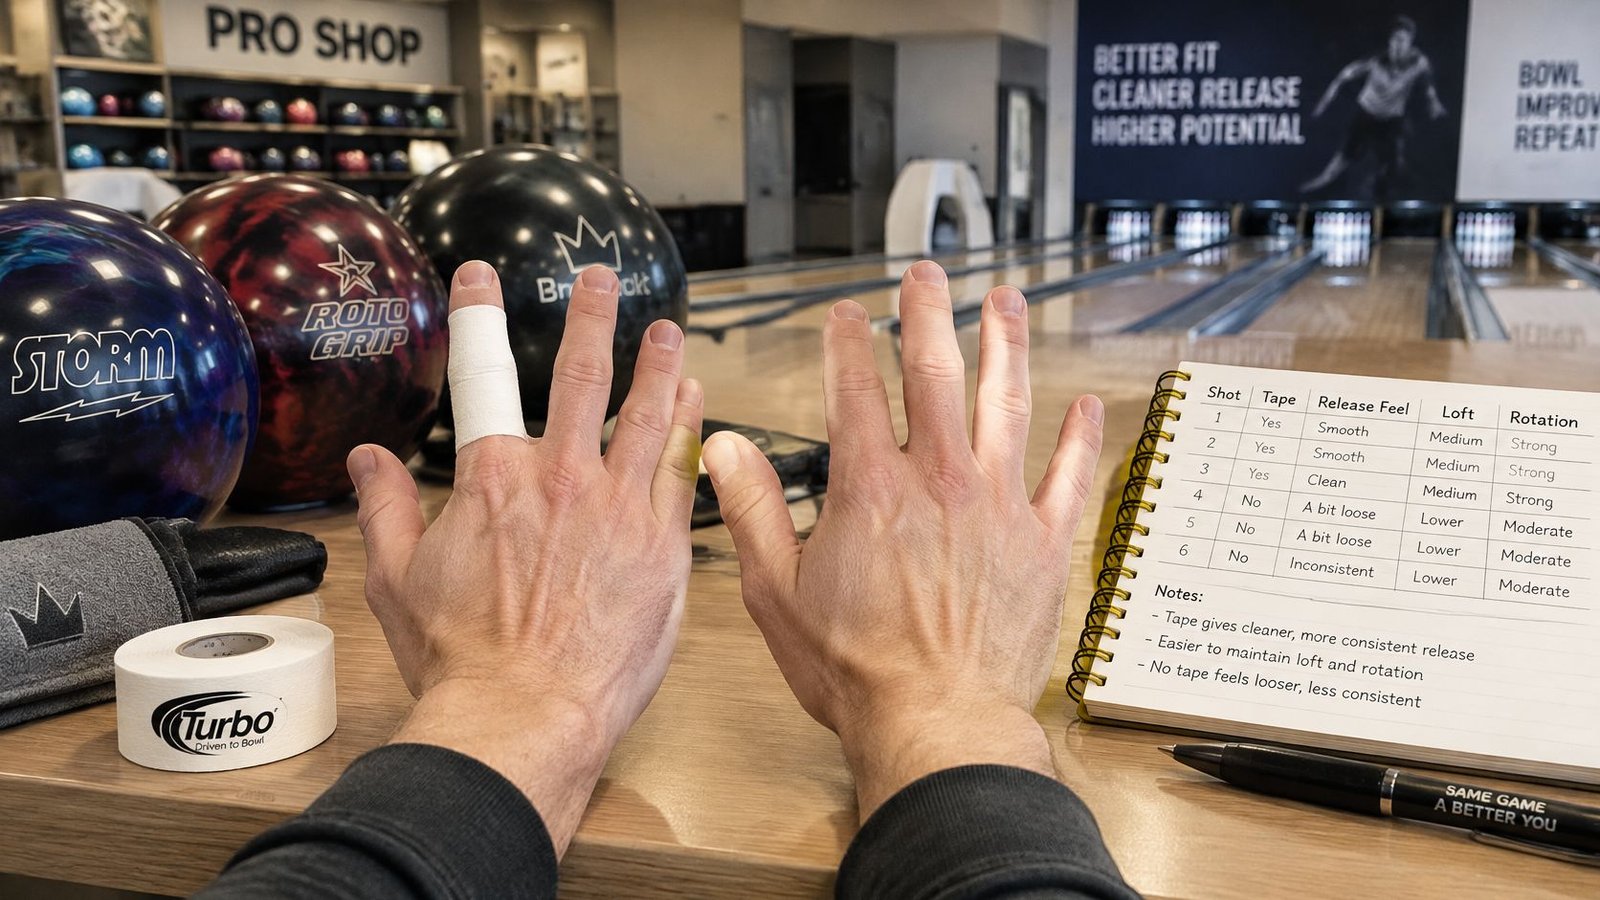
Use paired sets rather than pinfall
Compare the same ball, target, and intended delivery with and without the hole tape. Keep tape placement unchanged during the taped set. If the original fit is painful or unsafe, skip the baseline and have it checked.
After each shot, note:
- Release feel: Did the finger clear, hang, or lose contact early?
- Grip effort: Could you keep your hand relaxed, or did you brace your forearm?
- Loft: Did the ball land in a repeatable area without forced lifting?
- Rotation: Did the roll look steady, or did you change your hand action to compensate?
- Miss direction: Did you miss left or right of the target, regardless of the pin leave?
Keep the layout only if grip tension drops and early or late exits become less frequent. A strike thrown with a strained hand does not show that the fit improved.
Grip tape types and where each one goes
| Tape type | Where it goes | Use when |
|---|---|---|
| Textured or tackier strip | Pad-facing wall inside the hole | A loose finger drops the ball early |
| Smooth strip | Opposite wall inside the hole | The finger grabs early or the release feels squeezed |
| Soft protective layer | On intact skin, not in the hole | The pad is tender and tolerates protection without irritation |
| Folded smooth shim | Behind a loose finger insert | The insert needs more retention without added pressure |
Make the smallest useful adjustment
If the ball hangs, remove material before adding another surface. If contact still feels loose and the finger drops out early, try a thin adjustment on the pad-facing wall. Change either thickness or texture, not both at once.
Repeat the comparison if your hand becomes sweaty or the room feels much drier. Record the layout that works by finger, wall, texture, and layer count, rather than by tape brand or color.
A 2021 peer-reviewed study of 39 Malaysian national-level tenpin bowlers found De Quervain's tenosynovitis in 53.8% of participants, with pain particularly involving the wrist, ring finger, middle finger, and thumb. The small, elite sample does not show that tape prevents injury or establish the risk for every recreational bowler.
If a layout makes you clamp harder, it is not an improvement, even if the tape stays firmly attached. Stop testing if tingling, numbness, or a deep pressure mark appears. Persistent symptoms need clinical advice, not a different adhesive.
Fix Slipping, Sticking, and Sore Fingers
A late exit and a slipping ball can tempt you into the same response: add tape. They often need opposite adjustments. Read the contact problem before changing the fit.
Start with what you feel at the hand, then use ball flight as supporting evidence. A pulled shot alone doesn't diagnose a finger-hole problem, and a changing hook shape doesn't prove the tape moved. Approach timing, thumb clearance, and lane conditions can complicate the picture.
Make a single diagnostic change
Use the table as a troubleshooting starting point, not a medical diagnosis. The listed causes are tape-related possibilities to check, not proof that drilling or technique is correct.
Grip tape problems and the one change to make
| What you feel | Usual cause | One change |
|---|---|---|
| Finger exits late and the hand stays tight | Too much tape, or tack on the wrong wall | Remove a layer and keep texture on the pad wall only |
| Ball slips even with tape in the hole | Strip on the back wall, or surface glazed by oil | Replace with a fresh textured strip on the pad wall |
| Forearm squeezes the ball | Too much friction | Switch to smooth tape on the opposite wall |
| Numbness or a pressure ring | Insert shim or layers too thick | Remove material and stop bowling if numbness remains |
| Tape peels during the game | Moisture, oil, or a reused strip | Clean and dry the hole, then use a new strip |
| Blister or raw pad | Skin tape over irritation, or a sharp hole edge | Stop skin tape and have the bevel checked |
| Loft and miss direction keep changing | Fit changing from shot to shot | Change only one variable and repeat the comparison set |
A fresh-looking strip can still have a slick contact surface. Inspect the face under good light and feel it with a clean finger. If it's oily or glazed, replacement is more informative than hiding it beneath another layer.
Likewise, a peeling edge isn't automatically evidence that you need stronger adhesive. Check whether the strip was wrinkled, touched repeatedly during placement, or installed over residue. Correct the preparation before changing products.
Separate finger drag from thumb drag
Say the middle finger feels comfortable, but the ball still hangs and you pull across your target. Packing that finger hole tighter could introduce a new problem while leaving the original one untouched.
Check whether the thumb releases freely and whether you're bending it to hold the ball. The bowling thumb tape guide addresses that separate contact area. Don't copy a thumb-hole layout into the finger holes without checking where each digit bears pressure.
Diagnostic habit: Freeze the ball, target, and intended delivery while you test a tape change.
If the same error survives careful comparisons with sensible placement, stop cycling through surfaces. Ask a driller to inspect span, pitch, diameter, insert condition, and bevel while your hand is seated normally.
A deep mark, persistent whiteness, or loss of sensation isn't a cue to finish the game first. Remove the restriction and stop. If symptoms don't resolve, seek medical assessment rather than treating the pro shop as a substitute for healthcare.
Replace, Care, and Decide to Keep or Refit
The layout you keep should be easy to reproduce and easy to remove. If maintaining it means covering old adhesive, rebuilding a bulky shim, or tolerating sore skin, you've moved beyond routine fit adjustment.
Use a small care kit: a microfiber cloth, scissors, a blunt placement tool, fresh tape, and a sealable bag. Keep the setup card with those supplies so you can recreate the fit without guessing from a half-used strip.
Build a clean replacement routine
Remove used tape after bowling. Peel it slowly rather than pulling sharply across the skin or insert. Check the hole for leftover adhesive so the next strip doesn't sit on a slick or uneven patch.
Clean only what needs cleaning. Wipe the hole dry, and use a ball-safe cleaner compatible with the ball and insert when visible oil remains. Apply cleaner to the cloth rather than flooding the hole, and let the surface dry before storage.
Protect the roll in the bag. A zip bag keeps lint and grit away from exposed adhesive. Keep it out of a hot car, and let cold tape return to room temperature before applying it.
Discard unreliable material. Replace tape that tears during placement, has dirty edges, loses tack, or leaves stringy adhesive. Don't try to restore it with solvent or heat.
Inspect the skin before the next session. Redness, a split, a healing blister, or adhesive irritation means leaving skin tape off that area. Removing tape shouldn't become a repeated cycle of peeling away tender skin.
Check the insert shim separately. Replace a compressed or migrating shim rather than stacking behind it. If the insert won't remain secure without uncomfortable packing, have its size and installation checked.
Our equipment-care advice focuses on keeping bowling equipment consistent, not merely clean. For an insert that shifts or needs frequent packing, the bowling ball finger grips guide can help you distinguish insert selection from temporary tape adjustment.
Decide from the session notes
Keep the layout when the hand stays comfortable, the tape remains seated, and your notes show a repeatable release without extra effort. You shouldn't need to consciously hold the ball longer or snap the fingers harder to accommodate it.
Change a variable when the setup is comfortable but the original timing problem remains. Write down the exact change before testing, including whether you removed thickness, changed texture, or moved the contact position. That note prevents a frustrating return to a layout you've already rejected.
Book a refit when the finger must twist to enter, the hand feels stretched across the span, an edge repeatedly rubs, or substantial packing is needed to hold an insert. Those are fitting questions, not reasons to keep collecting tape products.
Keep a setup card in the bag
Write the successful finger, wall, tape surface, and layer count on a card. Add a plain-language result such as relaxed hand, clean exit, or no forced loft. Avoid recording only the score, because it doesn't tell you how the fit behaved.
Recheck the card after a layoff or seasonal change rather than rebuilding the old setup automatically. Your current hand fit matters more than reproducing last season's material exactly.
Gary shares personalized recommendations to help bowlers find equipment that fits their style and goals. Useful notes about contact, release, and discomfort make that conversation more specific, but persistent pain or numbness still belongs with a qualified healthcare professional.
Keep tape when it fine-tunes a comfortable fit. Refit when it conceals an uncomfortable one. Bring the ball and your setup card to the driller so the conversation starts with a repeatable symptom instead of a request for more grip.
For practical tape comparisons, accessory reviews, and equipment-care guidance, visit Bowling Gear Reviews. Use your setup card and release notes to compare options by placement, comfort, and consistency rather than buying the stickiest roll.
