

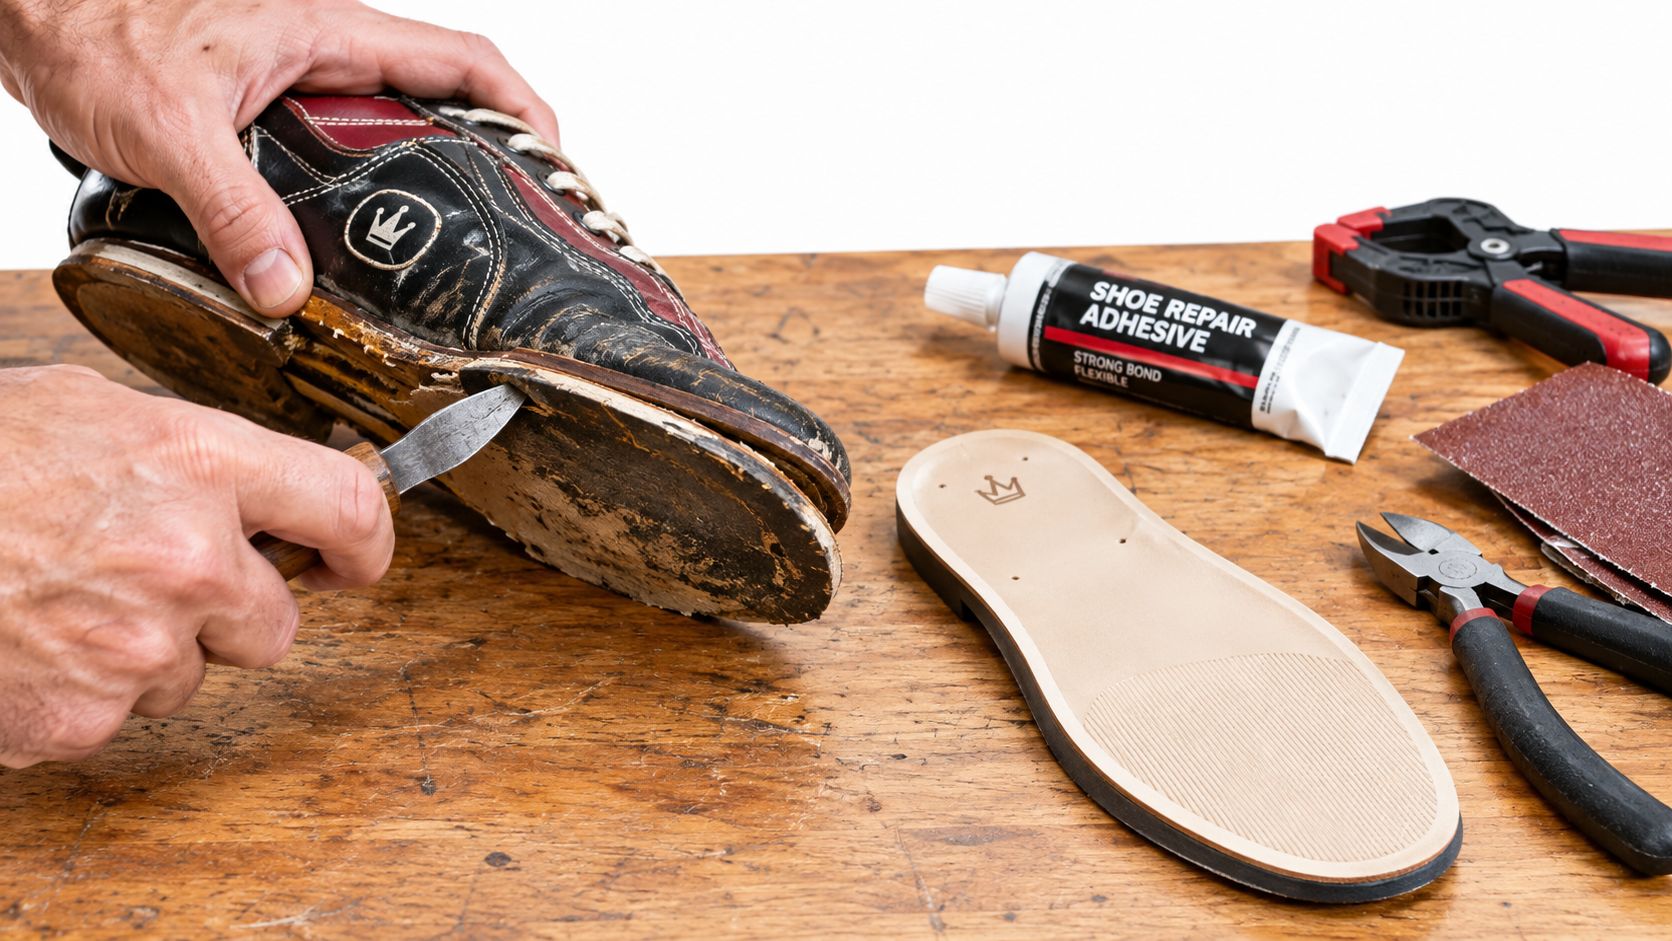
The upper still looks good, the stitching is intact, and then the approach tells you the truth. Your slide foot either grabs too early, runs farther than expected, or changes from one approach to the next. A worn sole can make a sound bowling shoe feel unreliable long before the leather or synthetic upper looks tired.
That's why learning how to replace soles on shoes isn't just a cobbler exercise for bowlers. The sole controls how the shoe interacts with the approach, so the repair has to restore repeatable slide geometry, braking, and balance, not merely attach a new piece of rubber or felt. A sole that stays glued but changes your release timing is still a failed repair.
Table of Contents
- Why Bowlers Think About Replacing Soles
- Tools, Workspace, and Pre-Repair Inspection
- Removing the Old Sole Without Damaging the Upper
- Choosing Between Adhesive and Screw-In Sole Systems
- Bonding, Clamping, and Curing the New Sole
- Testing the Repair and Knowing When It Failed
- Care, Replacement Triggers, and When to Call a Pro
Why Bowlers Think About Replacing Soles
A league bowler usually notices the problem in fragments. One week, the slide foot feels sticky on a familiar approach. The next, the brake heel feels worn and the finish position becomes tentative. The shoes look perfectly presentable from above, but the sole has stopped behaving like the performance part it is.
A bowler might slide past the intended mark by two feet, then compensate by shortening the approach. Another might plant hard because the slide pad catches on an oily approach. Both reactions can look like timing problems, but the shoe may be changing the timing before the bowler changes anything.
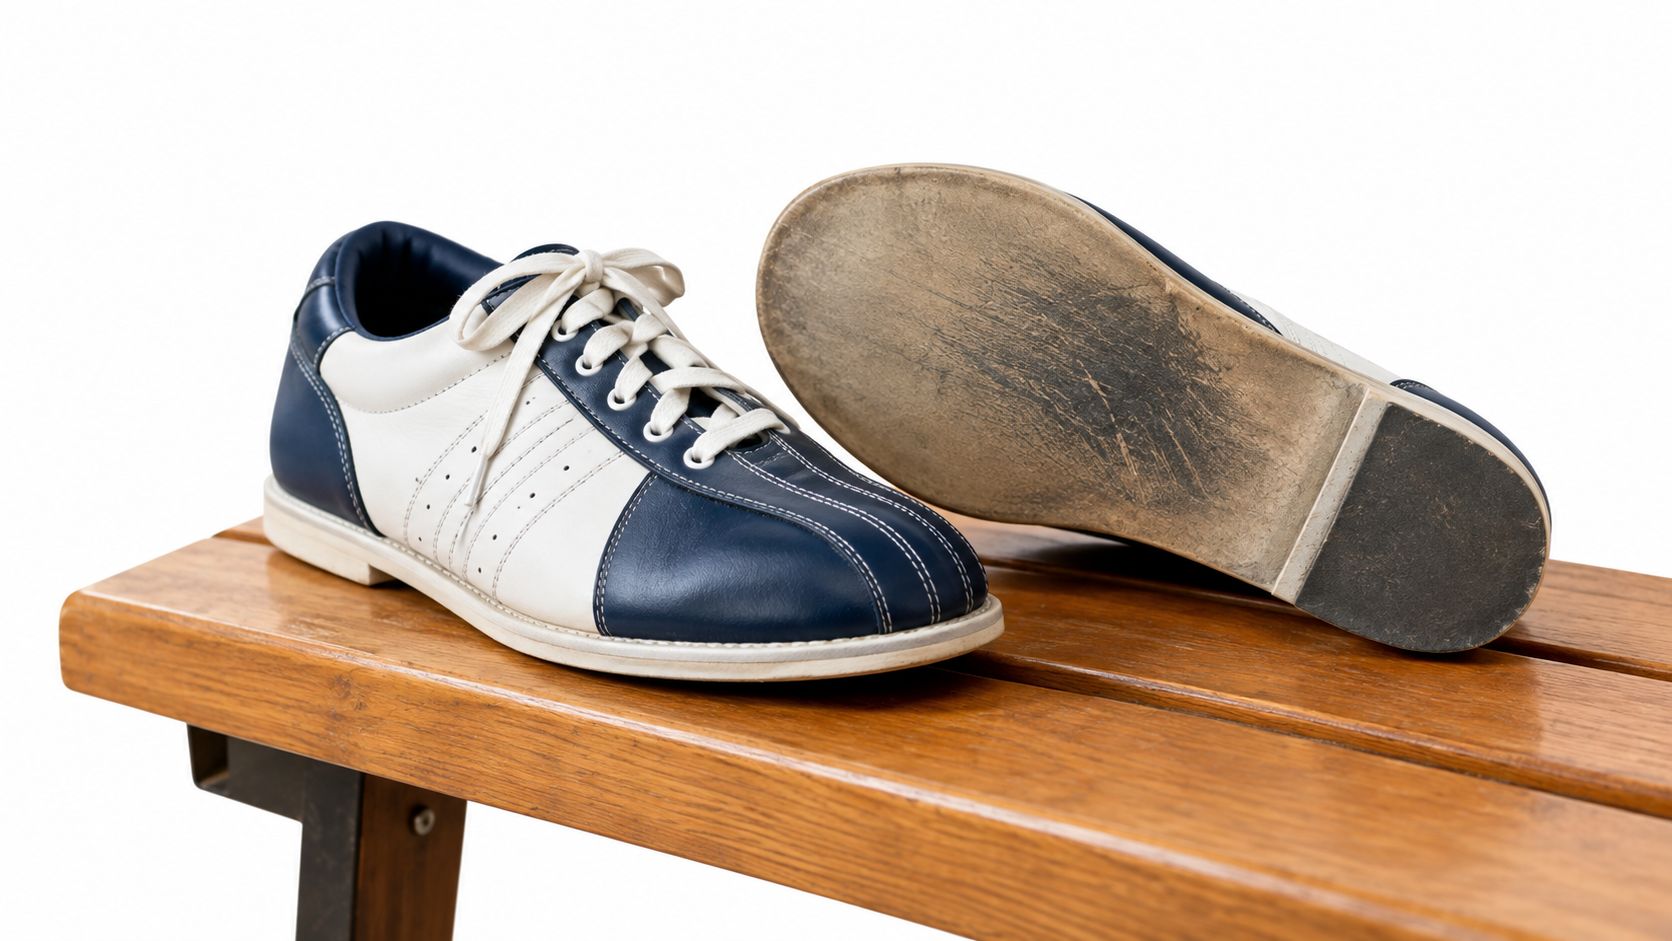
A bowling sole isn't just a wear surface. It's part of a controlled sliding system that affects slide distance, braking feel, approach timing, and balance. That makes replacement a performance decision. The right replacement should preserve the shoe's original relationship with the approach, while the wrong thickness, texture, or attachment can create a new problem.
A firmly attached sole can still be unsuitable. A heavier rubber compound may make the shoe feel slower through the slide. A thicker pad can raise the foot and alter how the bowler reaches the foul line. A traction heel with the wrong profile can change braking pressure and leave the bowler sitting back or falling forward.
Practical rule: Judge a replacement by the consistency of the approach, not by the cleanliness of the finished edge.
Before cutting into anything, compare the current shoe with how it behaved when it was reliable. Note whether the slide became longer, shorter, or irregular. Check whether the brake heel releases smoothly. If you need a broader explanation of why bowling shoes can feel unpredictable, this guide to slippery bowling shoes provides useful context.
Sole construction determines how realistic a replacement is. Traditional repairable shoes may use stitched systems such as Goodyear welt, Blake stitch, or stitch-down construction, where the outsole can be removed without treating the upper as disposable. Many bowling shoes instead rely on adhesive pads, Velcro-like attachments, molded components, or factory-specific systems. The visible shoe shape won't tell you which one you have.
Tools, Workspace, and Pre-Repair Inspection
A bowling shoe can look repairable and still be unsafe on the approach. Set up a flat, bright, ventilated workspace before you decide the sole is the problem. The shoe must remain undisturbed during bonding, and the surface must stay free of dust, open flames, and loose debris. A cramped room or soft couch makes accurate alignment harder and contaminates the bond.
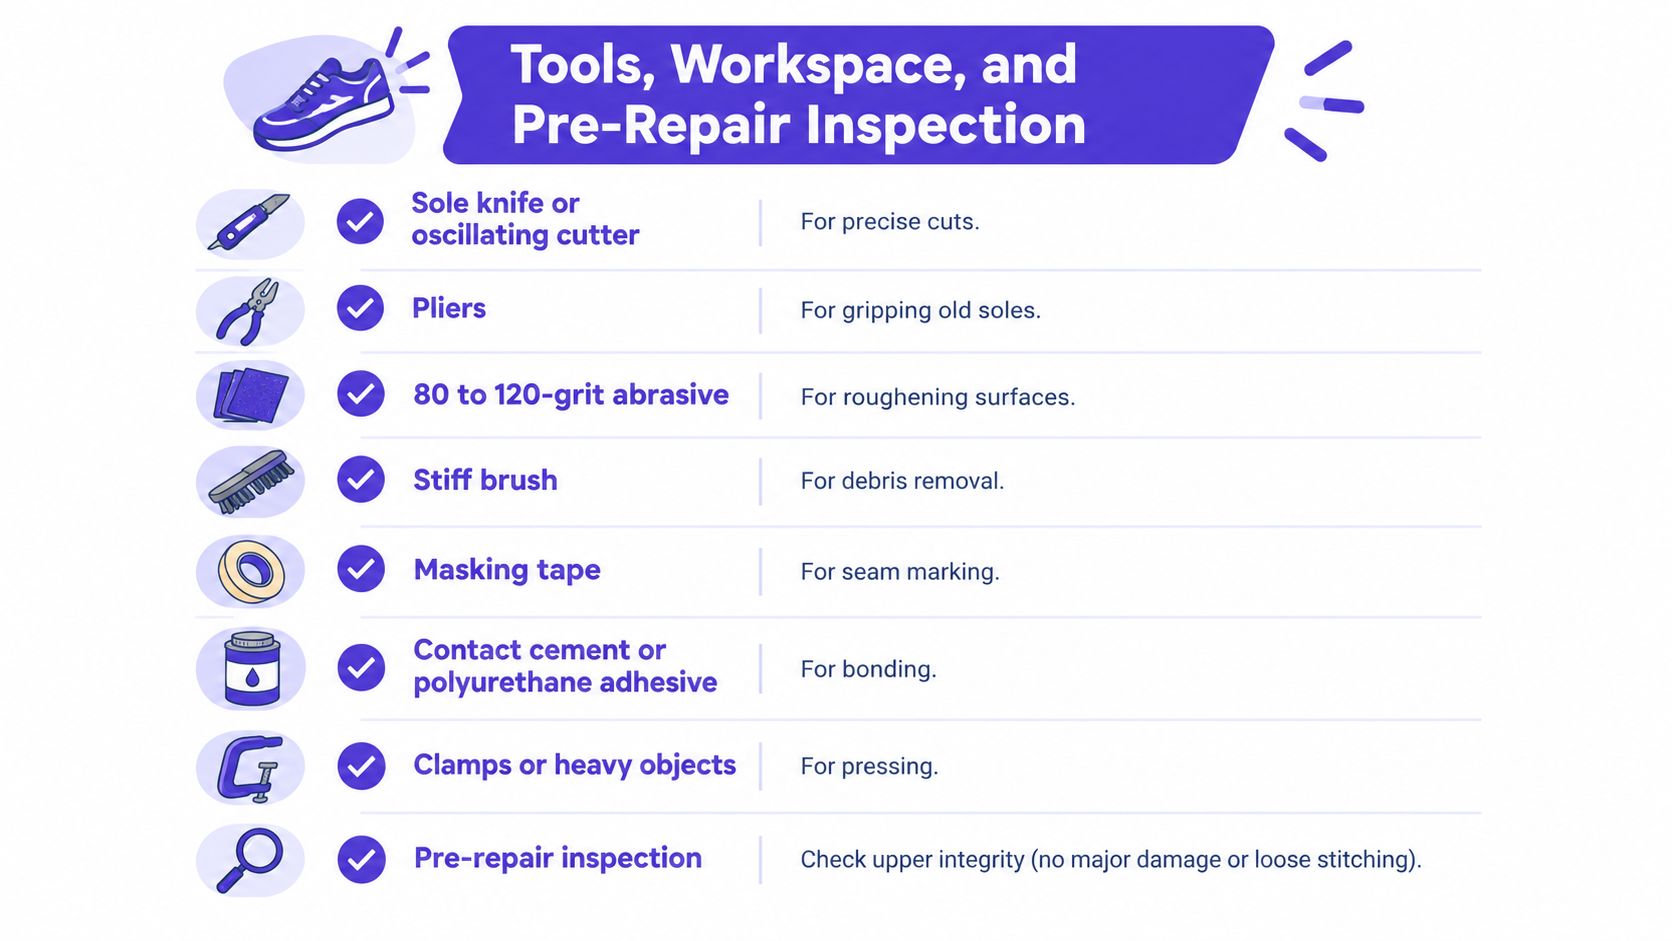
Gather the following equipment:
- Cutting tool: Use a sole knife or oscillating cutter for controlled separation. Keep a thin blade shallow.
- Gripping tool: Pliers let you peel the old outsole away in sections instead of pulling against the entire bond.
- Abrasive: Keep 80 to 120-grit abrasive available for roughening both mating surfaces.
- Cleaning tools: A stiff brush and scraper remove loose debris and old cement.
- Marking supplies: Masking tape defines the sole edge and protects the upper during removal.
- Adhesive: Choose a flexible footwear adhesive, such as polyurethane adhesive or suitable neoprene or contact cement.
- Pressure equipment: Clamps, wide tape, or evenly distributed heavy objects can maintain contact while the adhesive sets.
- Shape support: Use a shoe last, or stuff the shoe firmly with paper or another material that will not distort the upper.
Inspect the shoe before you commit
Inspect the upper, welt or midsole, and heel attachment points before ordering or cutting a replacement. A new outsole cannot correct structural failure, as explained in this professional guide to damaged shoe soles.
Use a bright light and flex the shoe gently. Check for:
- Upper separation: If the upper is pulling away from the midsole, the new platform will not hold securely.
- Midsole compression: A crushed, cracked, or permanently uneven midsole can alter slide geometry, even with a fresh outsole.
- Heel block movement: Rock the heel carefully. Any looseness must be addressed before bonding.
- Foam deterioration: Musty, crumbling, or sticky foam points to internal failure rather than ordinary outsole wear.
- Flatness: Place the shoe on a flat surface. A twisted or rocking base will produce inconsistent slide and braking.
- Attachment type: Identify whether the sole is stitched, cemented, screwed, molded, or fitted with a replaceable pad system.
A smooth, cracked, detached, or tractionless outsole is a reasonable replacement candidate when the upper and support layers remain sound. Mark the current sole's slide and brake orientation before removal, then compare the replacement against those contact zones. A sole that sits higher, changes the slide length, or alters heel release can make the approach less predictable even when the bond is perfect. If the structure fails inspection, a pro shop or experienced shoe repairer is the safer call, especially when the repair cost approaches a new pair of league shoes.
Removing the Old Sole Without Damaging the Upper
The safest teardown is slow and boring. That's a compliment. Most damage happens when someone gets impatient at the toe, drives a blade deep, and cuts into the upper or the support layer underneath.
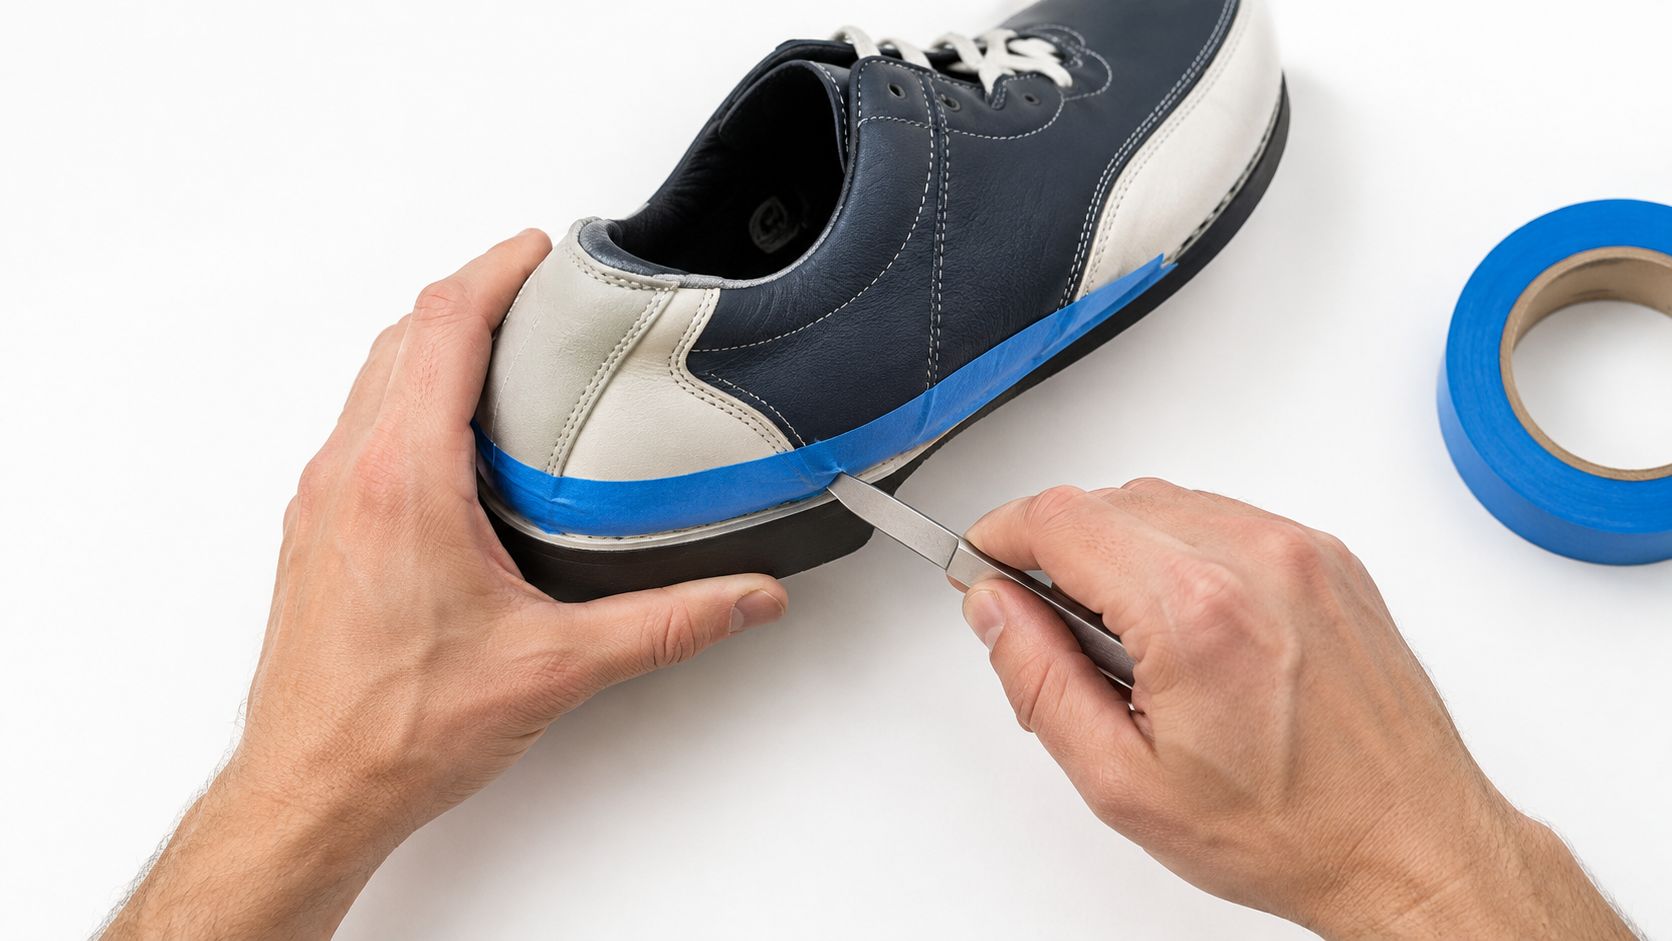
Start by cleaning loose dirt from the perimeter. Run masking tape around the upper just above the sole line, following the existing seam. The tape gives you a visual boundary and helps prevent a slip from becoming a long cut across the shoe.
Peel, scrape, and expose the bonding surfaces
Warmth can soften some adhesives, but avoid uncontrolled heat. A heat source can distort synthetic materials, damage finishes, or soften components you need to keep stable. Begin at an existing gap or at the edge of the outsole, then work a sole knife under the bond with shallow, controlled movements.
Cut a little, stop, and inspect. If the blade meets firm resistance, don't force it straight toward the upper. Change the angle or use pliers to lift the loosened section. The aim is to separate the adhesive layer, not to carve through every layer beneath it.
Work around the toe and heel in small sections. Pull with the pliers only after the bond has been opened. A steady peeling motion is safer than a hard sideways twist, which can tear the upper or lift a welt. Keep the shoe supported so you aren't bending the forefoot beyond its normal shape.
A useful working sequence is:
- Mark the perimeter with tape and photograph the original sole position.
- Open the edge at the toe or heel with a shallow blade.
- Separate small sections rather than pulling across a large uncut area.
- Peel with pliers while watching the upper and midsole.
- Scrape old cement from both mating surfaces.
- Roughen evenly with 80 to 120-grit abrasive.
- Brush and wipe away dust before adhesive touches either surface.
For a visual demonstration of the general removal and preparation process, use this sole repair walkthrough. The important detail is gradual removal, not speed.
The finished surfaces should be dry, dust-free, and evenly abraded. Don't leave glossy islands of old cement between the new sole and the shoe. Don't sand so aggressively that you thin the midsole or expose stitching. A clean, consistent contact surface gives the adhesive a chance. It can't rescue a torn upper or a contaminated interface.
Choosing Between Adhesive and Screw-In Sole Systems
The attachment method decides what kind of repair you're performing. An adhesive replacement creates a new bond across the entire sole. A screw-in or interchangeable system preserves a designed mechanical interface, but only if the replacement part and hardware match the shoe precisely.
Adhesive systems suit many cemented shoes and permanently bonded outsoles. Contact cement and flexible polyurethane can produce a clean, low-profile result, but the preparation must be exact and the shoe needs uninterrupted curing time. The trade-off is that every future replacement involves breaking and rebuilding the bond.
Screw-in systems, factory-mounted inserts, and interchangeable bowling pads offer a different kind of serviceability. They can let a bowler change slide or traction components for different approaches, but the system depends on correct hardware, alignment, thickness, and mounting pressure. A homemade screw placement can damage the sole unit, create pressure points, or leave the component proud of the surface.
Check inside the shoe and around the sole edge. Threaded inserts, visible fastener heads, removable pads, or a Velcro-like attachment point suggest a replaceable system. A completely smooth, permanently bonded perimeter points toward adhesive construction, although molded and stitched designs can look similar from the outside.
| Factor | Adhesive System | Screw-In System |
|---|---|---|
| Best fit | Permanently bonded soles and many cemented shoes | Factory-designed interchangeable or mechanically mounted soles |
| Main benefit | Clean, continuous bond with a low profile | Faster component changes when parts and hardware match |
| Main risk | Poor preparation or incomplete cure causes delamination | Incorrect hardware or alignment changes geometry and security |
| Bowling adjustment | Replacement material determines the new slide and brake feel | Compatible pads can tailor slide or traction characteristics |
| Repair difficulty | Accessible to careful DIY work | Usually demands exact system knowledge or pro-shop service |
| What you give up | Easy future swaps | Freedom to improvise replacement parts |
Bowlers interested in replaceable components can compare bowling shoes with interchangeable soles before choosing a repair path. The useful question isn't whether one system sounds more advanced. It's whether your shoe was designed to handle the system you're about to use.
Don't drill a glued sole just because screws seem more secure. Don't glue a removable pad permanently if you may need to tune slide characteristics later. Preserve the shoe's intended attachment method whenever possible, especially when the sole directly controls approach safety.
Bonding, Clamping, and Curing the New Sole
Bonding determines whether the repair preserves the shoe's intended slide geometry or turns the approach into a safety problem. Dry-fit the replacement sole while the shoe is supported in its normal shape. Check the toe, heel, sidewalls, and every transition between slide and traction zones. If the part does not sit naturally before adhesive, it will not align itself after both surfaces are coated.
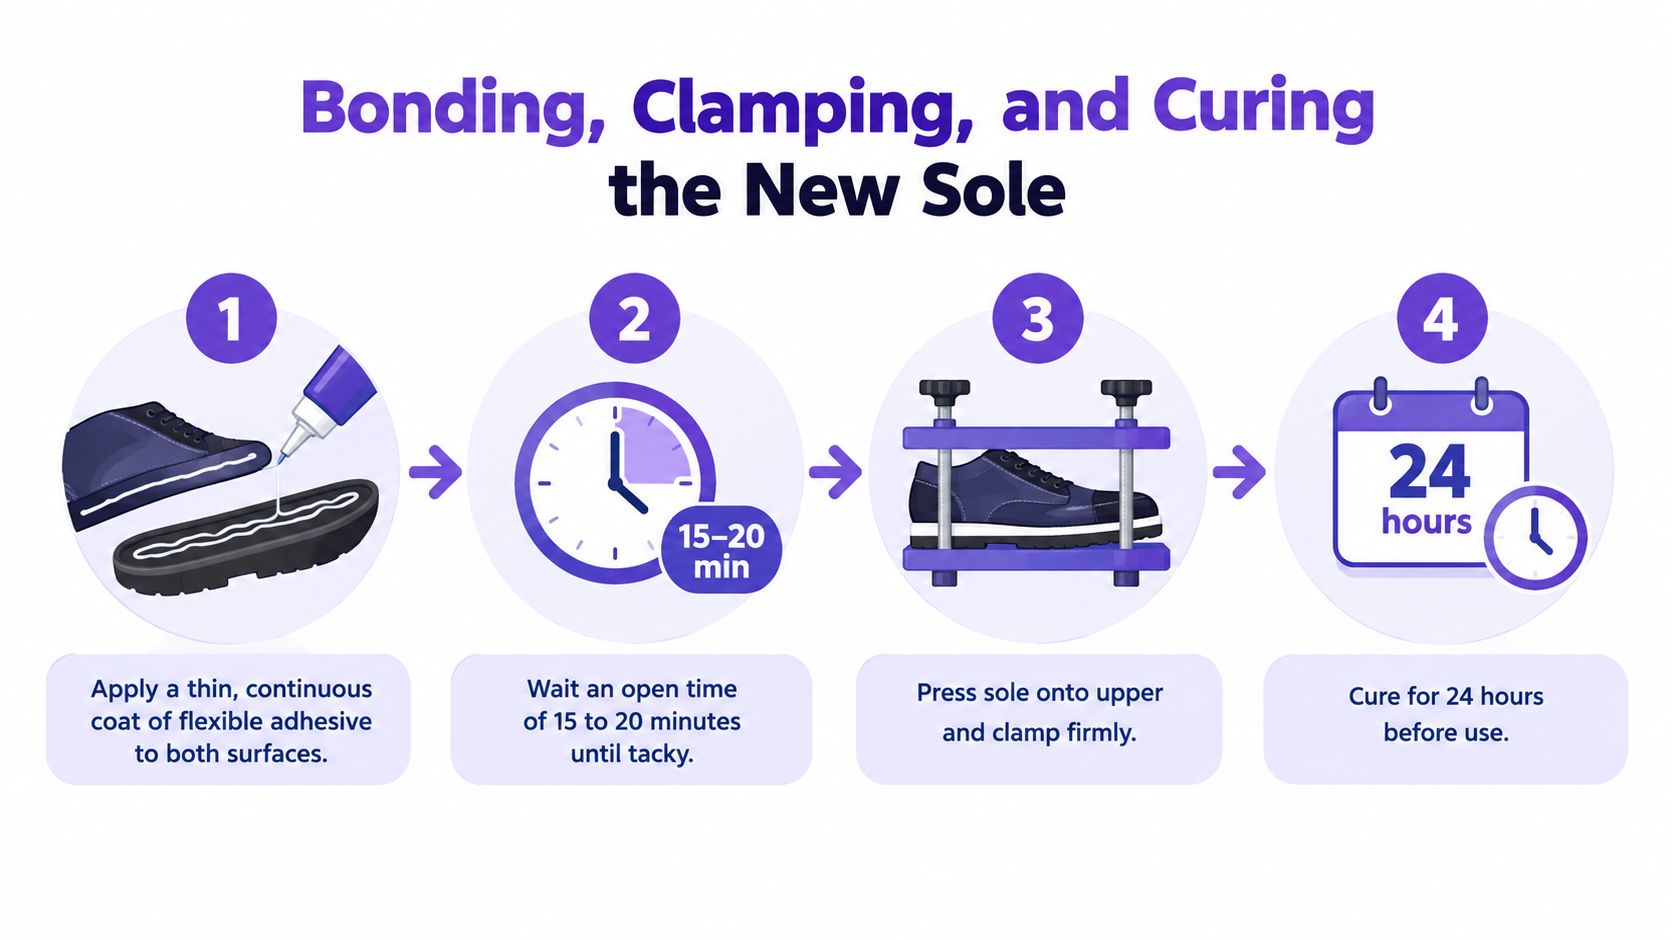
Apply a thin, continuous coat of flexible footwear adhesive to both prepared surfaces. Cover the full contact area without creating pools. Polyurethane adhesive and suitable neoprene or contact cement tolerate repeated flexing better than rigid instant adhesive, which can crack as the shoe bends.
Align once, then apply even pressure
Many contact cements need an open time of roughly 15 to 20 minutes until tacky, depending on the formulation. Follow the product label rather than treating that range as universal. Joining too early can let the sole skate out of position. Waiting too long can reduce the bond.
Align from the toe toward the heel. This controls the longest edge and helps push gaps outward as the sole settles. Press across the forefoot first, then work toward the heel. Before final pressure, check for air pockets, curling edges, and sidewall misalignment. Small errors here can alter braking or make the shoe release unpredictably during the slide.
Use clamps, wide tape, or heavy objects to spread pressure across the entire sole. A clamp pressing one spot can distort the shoe while another area remains unsupported. Stuff the shoe with paper or place it on a last so the upper keeps its intended shape during curing.
A thin, even squeeze-out line around the perimeter shows that the adhesive reached the contact edge without leaving a heavy pooled layer.
Keep the shoe still at room temperature. Do not walk in it, flex it, heat it, or expose it to water while the adhesive cures. Allow at least 24 hours before handling it as a finished repair. Flexible urethane systems may need 48 to 72 hours to reach a stronger final bond, depending on the formulation and conditions.
After curing, inspect the complete perimeter. Trim hardened squeeze-out with a sharp knife, keeping the blade away from the upper, and smooth rough edges lightly. A thin flexible bead at the edge can help limit water entry, but it cannot compensate for contaminated surfaces, poor alignment, or an incomplete bond underneath.
Testing the Repair and Knowing When It Failed
A sole that remains attached on the workbench hasn't passed its real test. Bowling shoes carry a performance requirement that ordinary walking shoes don't. The repaired shoe must interact with the approach in a controlled, repeatable way.
Start indoors on a clean surface. Flex the forefoot gradually by hand, then work the heel through a gentle range of movement. Listen and look for cracking, edge opening, movement, or a visible void. These signs point to problems such as contaminated surfaces, joining before the adhesive reached tack, excess adhesive, or pressure that didn't reach the entire contact area.
Next, take a few short indoor walks. Keep the steps controlled and avoid loading the shoe aggressively. If the sole shifts under your foot, stop. Continued use won't finish the cure or improve alignment. It will enlarge the failure.
Test performance, not just adhesion
Once the shoe passes the basic movement check, make a slow approach on a familiar lane. Don't begin with a full-speed shot. Use a controlled sequence and compare the repaired shoe with your normal memory of its slide and brake response.
Check these details:
- Slide distance: Does the foot stop where your timing expects, or does it travel noticeably farther or shorter?
- Braking feel: Does the heel slow you progressively, or does it grab suddenly?
- Approach timing: Can you reach the foul line without changing your steps to compensate?
- Balance: Can you hold the finish position without twisting, rocking, or falling away?
- Repeatability: Does the sole respond similarly across repeated approaches?
A thicker or heavier replacement can alter weight, flexibility, traction, and the shoe's slide geometry. For bowling, that can change braking feel and release timing even when the adhesive is flawless. The repair isn't successful if you have to rebuild your approach around it.
A glued sole is attached. A good bowling repair is predictable.
If the shoe opens at the edge, makes an audible crack, or moves under load, remove it from service and rework the bond or consult a professional. If the sole stays attached but the slide varies from approach to approach, treat that as a performance failure, not a minor adjustment. The replacement material or profile may be wrong for the shoe.
Care, Replacement Triggers, and When to Call a Pro
A repaired bowling shoe needs care that protects its slide geometry, not just its bond. Rotate between two pairs when possible. Wipe slide surfaces with a damp cloth, avoid harsh solvents, and store shoes flat in a vented bag. On screw-in systems, inspect and retighten hardware according to the manufacturer's instructions.
Inspect the sole after sessions, and replace or service it when you find:
- Flat spots: The slide or heel has lost its intended profile.
- Cracked midsoles: The support layer beneath the outsole is failing.
- Water between layers: Separation is developing under the sole.
- Changing slide length: Your approach no longer feels consistent.
- Repeated delamination: The bond keeps opening after proper preparation and cure.
These signs matter because worn or shifting material can change braking and approach consistency while remaining attached. A replacement should restore the shoe's intended profile, not merely cover damaged material.
Call a professional if the upper is separating, the midsole is compressed, the heel block is loose, or the slide system is part of a sealed factory design. Alignment and performance geometry can shift during home repair. A pro can also judge whether the upper and support layers justify the work. A shoe that cannot hold its profile safely belongs out of service.
Keeping a serviceable shoe in use also reduces waste. For a bowler, replacing a failed sole can extend the life of a shoe whose upper and slide system remain sound. See leather bowling shoes and their construction when comparing durable uppers and long-term repair potential.
Bowling Gear Reviews publishes hands-on equipment reviews, comparisons, and maintenance guides covering fit, slide systems, traction, and durability on real lanes. Visit Bowling Gear Reviews before buying replacement components, then match the sole system to your approach rather than guessing from appearance.
